[ ](http://c276381.r81.cf1.rackcdn.com/modahaus-2.jpg)
A while back a rep for [Modahaus](http://www.modahaus.com) contacted me about a new photography stand they had come out with for the iPhone and small cameras. It looked pretty neat, so when they offered to send me one of my choosing to review, I took them up on it. International shipping being what it is, the stand arrived a few days ago.
The [Steady Stand](http://www.modahaus.com/store/steady-stands/) is meant to take product photos from directly above the item. It’s pretty simple, or so I thought. I wasn’t sure what to expect, but I am actually really surprised with the results from this stand.
Modahaus makes the stand in four different sizes. The different sizes not only fit different devices, but they also hold different sized objects inside the stand (the area where you take the picture of the object). [I opted for the SS200 which is the second largest stand, because I wanted to see if the stand would hold my GX1 (it does)](http://www.modahaus.com/store/steady-stand-200/).
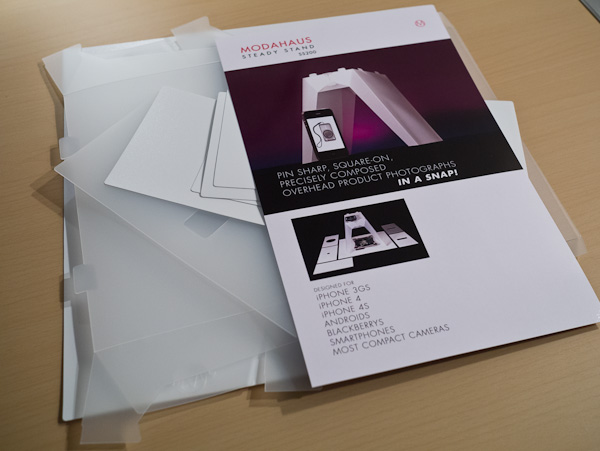
Here’s what the stand looks like when you get it:
[ ](http://c276381.r81.cf1.rackcdn.com/modahaus-1.jpg)
I was really pumped to open it once I saw the packaging, but when I did — well — this is what I saw:
[ ](http://c276381.r81.cf1.rackcdn.com/modahaus-3.jpg)
There was a lot of little bits of plastic, I feared I was in for an Ikea level assembly operation. Pleasantly, that wasn’t the case. There is actually only one solid piece of plastic that makes up the stand, and the directions amount to:
1. Re-crease the creased edges.
2. Put four tabs in two slots.
3. Done.
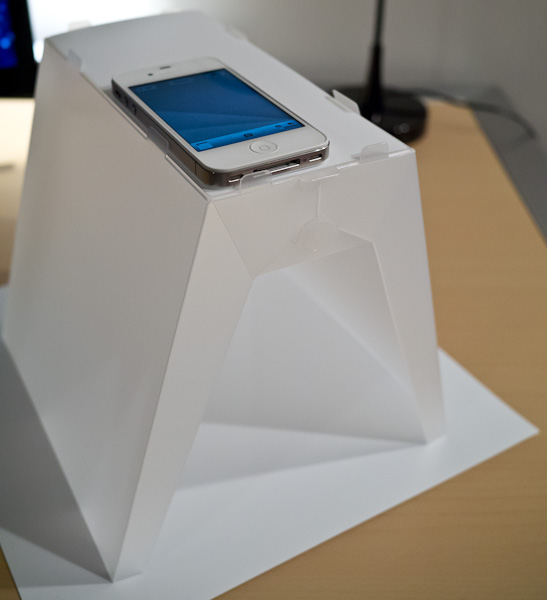
It didn’t take long to figure out at all, and the end result is this:
[ ](http://c276381.r81.cf1.rackcdn.com/modahaus-4.jpg)
That’s not a piece of paper on the bottom, it’s a piece of plastic that came with the stand. There are a few different inserts that rest on the top to adapt to different types of cameras — including the one shown for the iPhone. ((Side note: there is also a smaller piece of solid white plastic that can be rested on top of a coffee mug to provide an even more macro like level of focus, a nice touch.))
[ ](http://c276381.r81.cf1.rackcdn.com/modahaus-5.jpg)
There isn’t much else to say, because to be honest this stand works as advertised.
[ ](http://c276381.r81.cf1.rackcdn.com/modahaus-6.jpg)
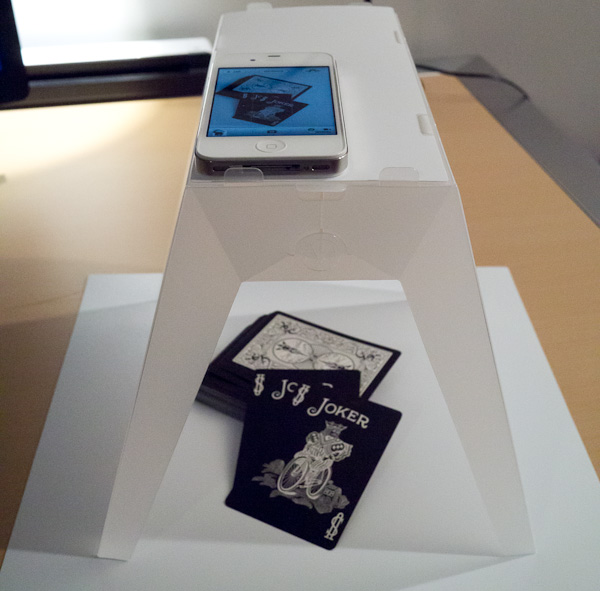
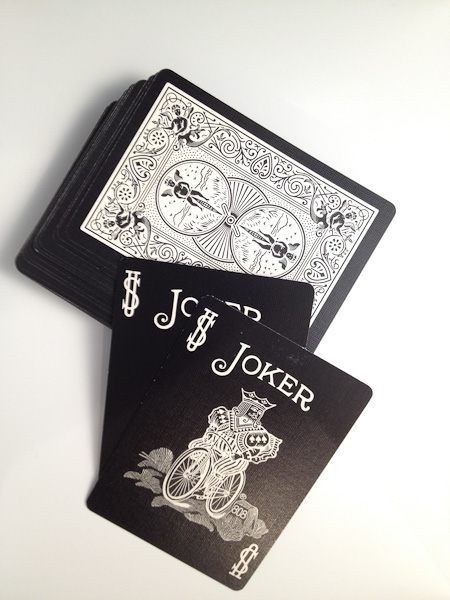
Anyone who takes product photos knows that a good photo isn’t as easy as you think it is. So in the above arrangement I placed some playing cards in the stand and used my iPhone to shoot the photo. The only light in the room was the overhead light and my desk lamp pointing away from the stand. It was so dim in the room that to shoot the above photo of the stand I had to do it at ISO 3200 on my GX1. So it was dim, but here’s the photo as it was directly out of my iPhone:
[ ](http://c276381.r81.cf1.rackcdn.com/modahaus-9.jpg)
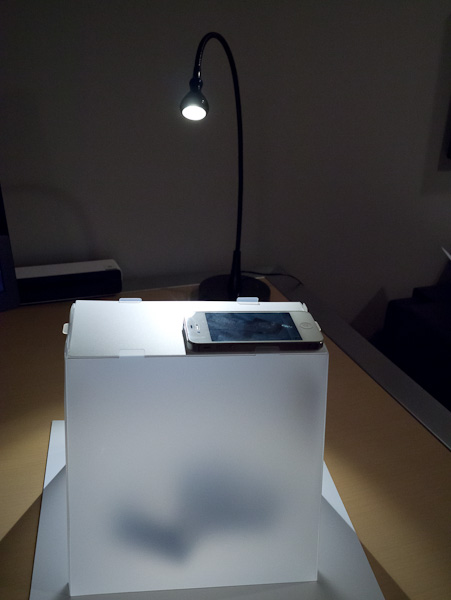
The color balance could use a tweak, but overall not that bad. I wanted a better shot though, so I spent about 5 seconds redirecting the light from my desk lamp directly into just one side of the Steady Stand and turning the stand a bit, like so:
[ ](http://c276381.r81.cf1.rackcdn.com/modahaus-7.jpg)
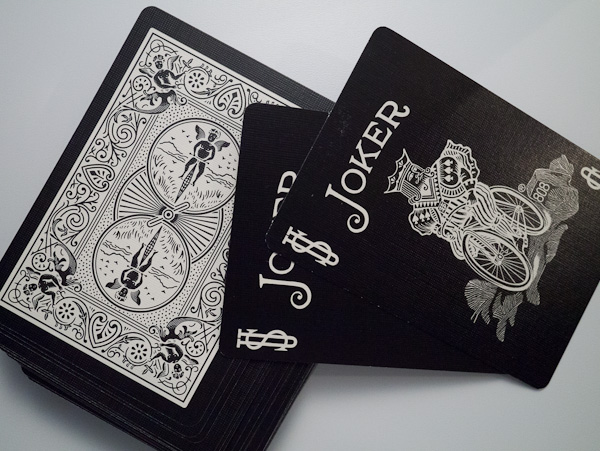
That small, but significant change resulted in this:
[ ](http://c276381.r81.cf1.rackcdn.com/modahaus-10.jpg)
Again that’s straight out of the iPhone. The light is a bit uneven in both the color balance and the levels. The color balance issue is the difference between my desk lamp and the overhead lights (both were on). Lastly the lighting balance issue is just from shining the light into one side in such a harsh manner.
I have absolutely no doubts that you can create fantastic product shots with this stand with a minimal level of setup and time needed.
Here’s the same exact setup, but using the GX1 as the camera instead:
[ ](http://c276381.r81.cf1.rackcdn.com/modahaus-8.jpg)
My guess is that in a brightly lit room, or one with sunlight pouring in, you could get some fantastically even images.
I quite like this stand, and the best part for me: you can fold it back flat and stow it away. That’s a killer feature.