I just posted about how Lightroom doesn’t do the Fujifilm X-Trans sensors justice, and in the past I have linked to examples of this, but why not just show it to you here?
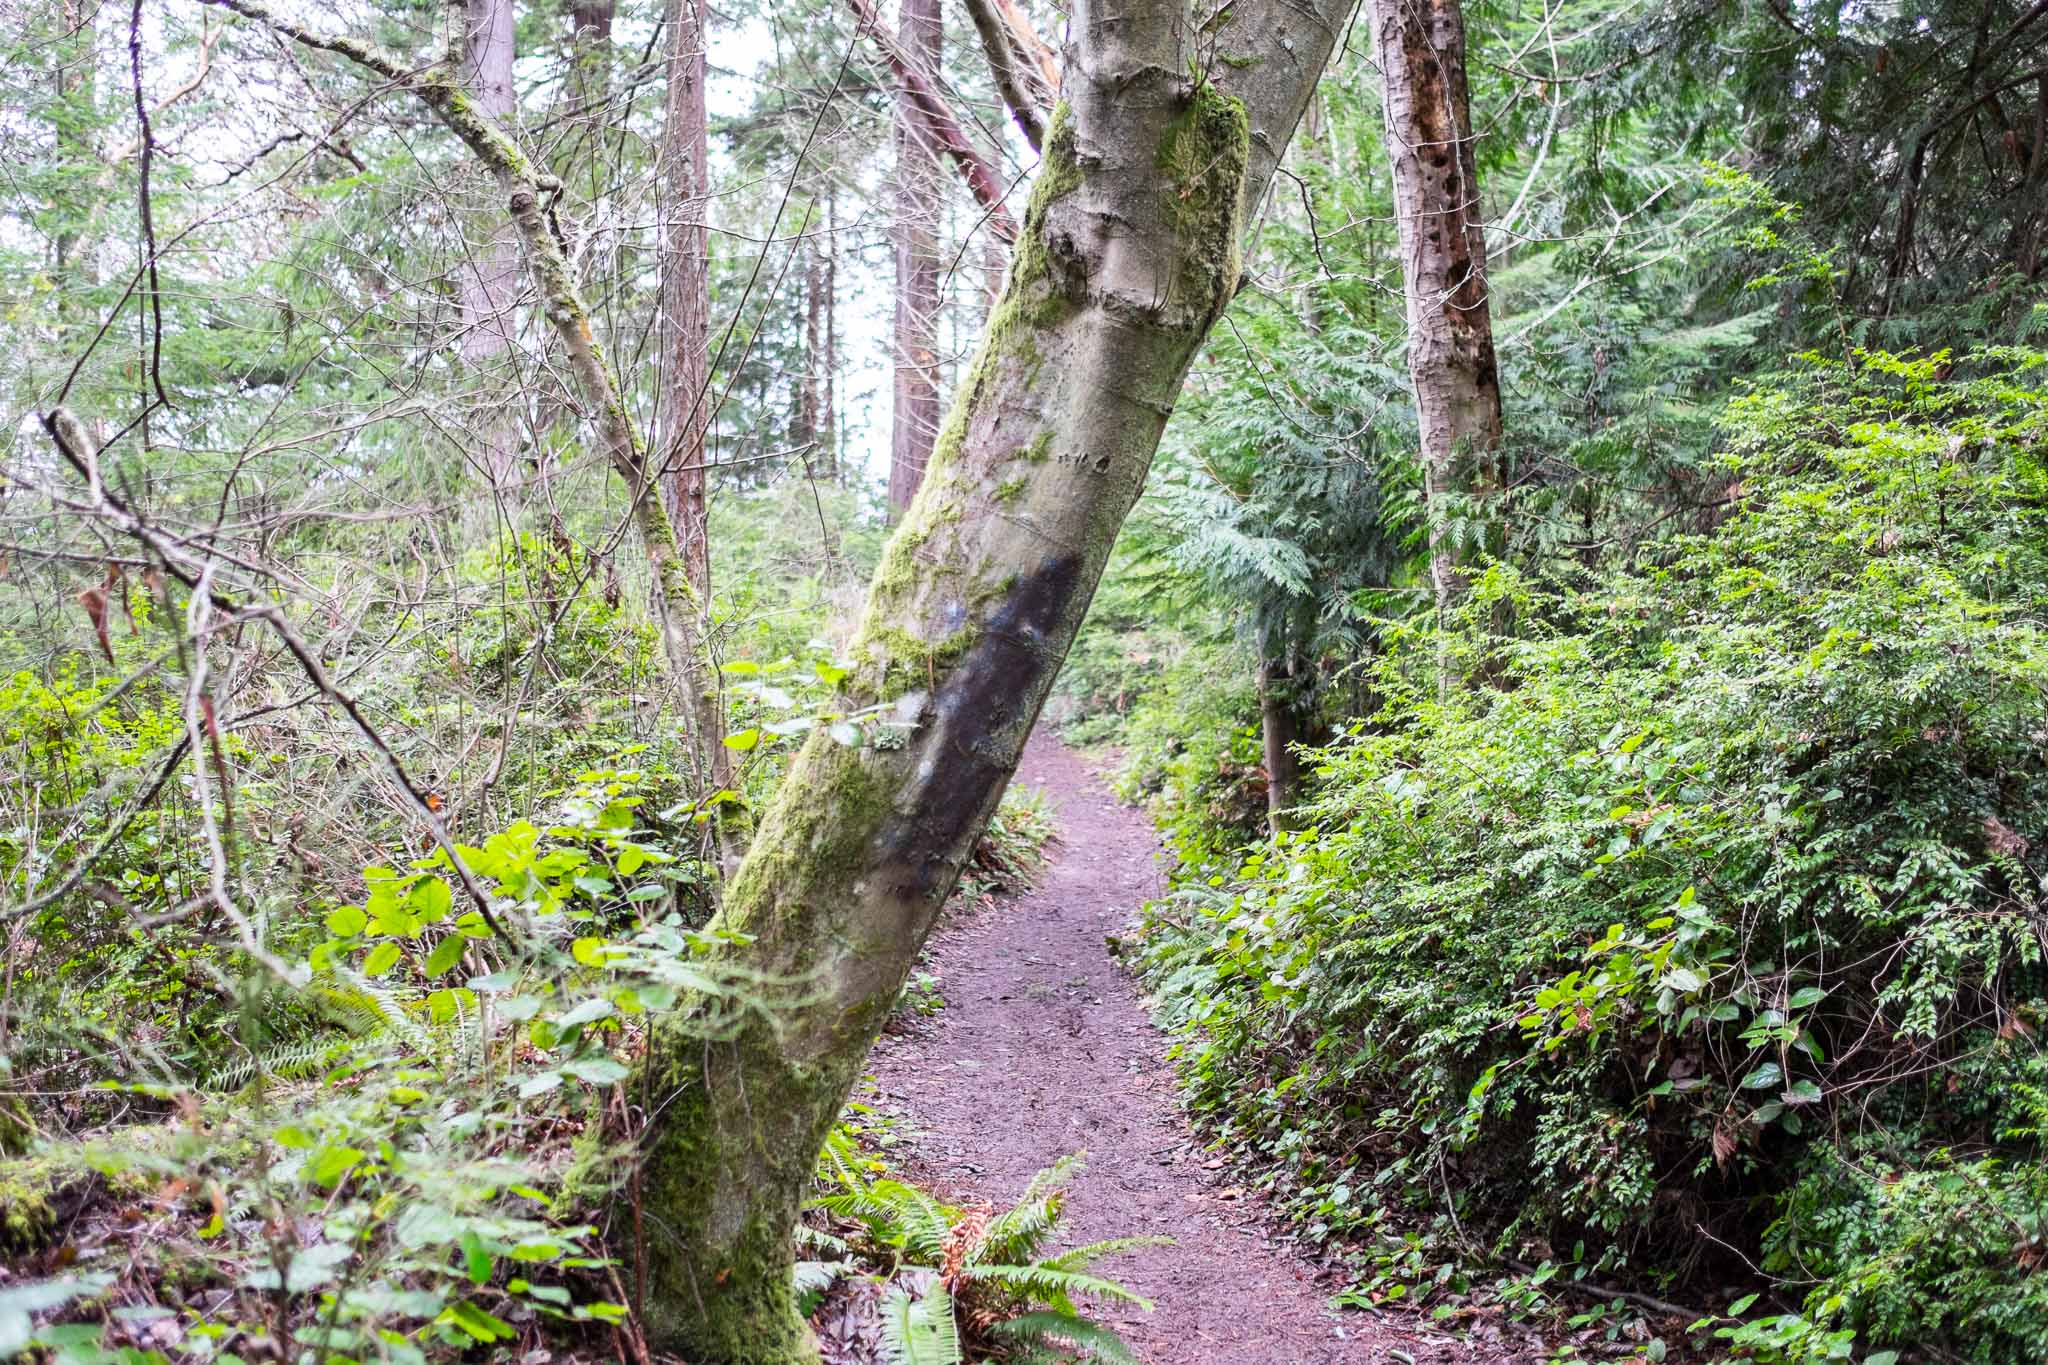
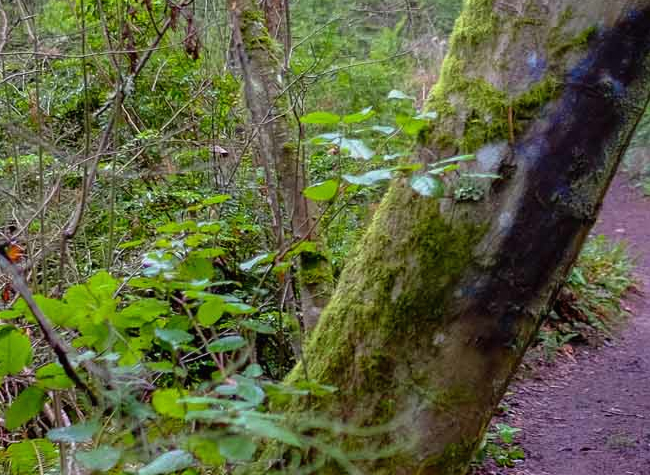
I picked a very uninspiring shot with a ton of foliage in it. The shot itself was taken with the Fujifilm X-E2 at f/1.4 with a 1/110 second shutter sped at ISO 400. I used the Fujifilm 23mm f/1.4 R lens for this shot. To my memory I think I wanted to play with the winding path, but the shallow depth of field which threw the tree out of focus messed that all up. In other words this is a throw away shot, but one that has a lot of fine detail in it.
Here’s the RAW file for the shot if you want to see the test for yourself.
Here’s the shot as I would have processed it in Lightroom to get it sharp and the color where I want it:
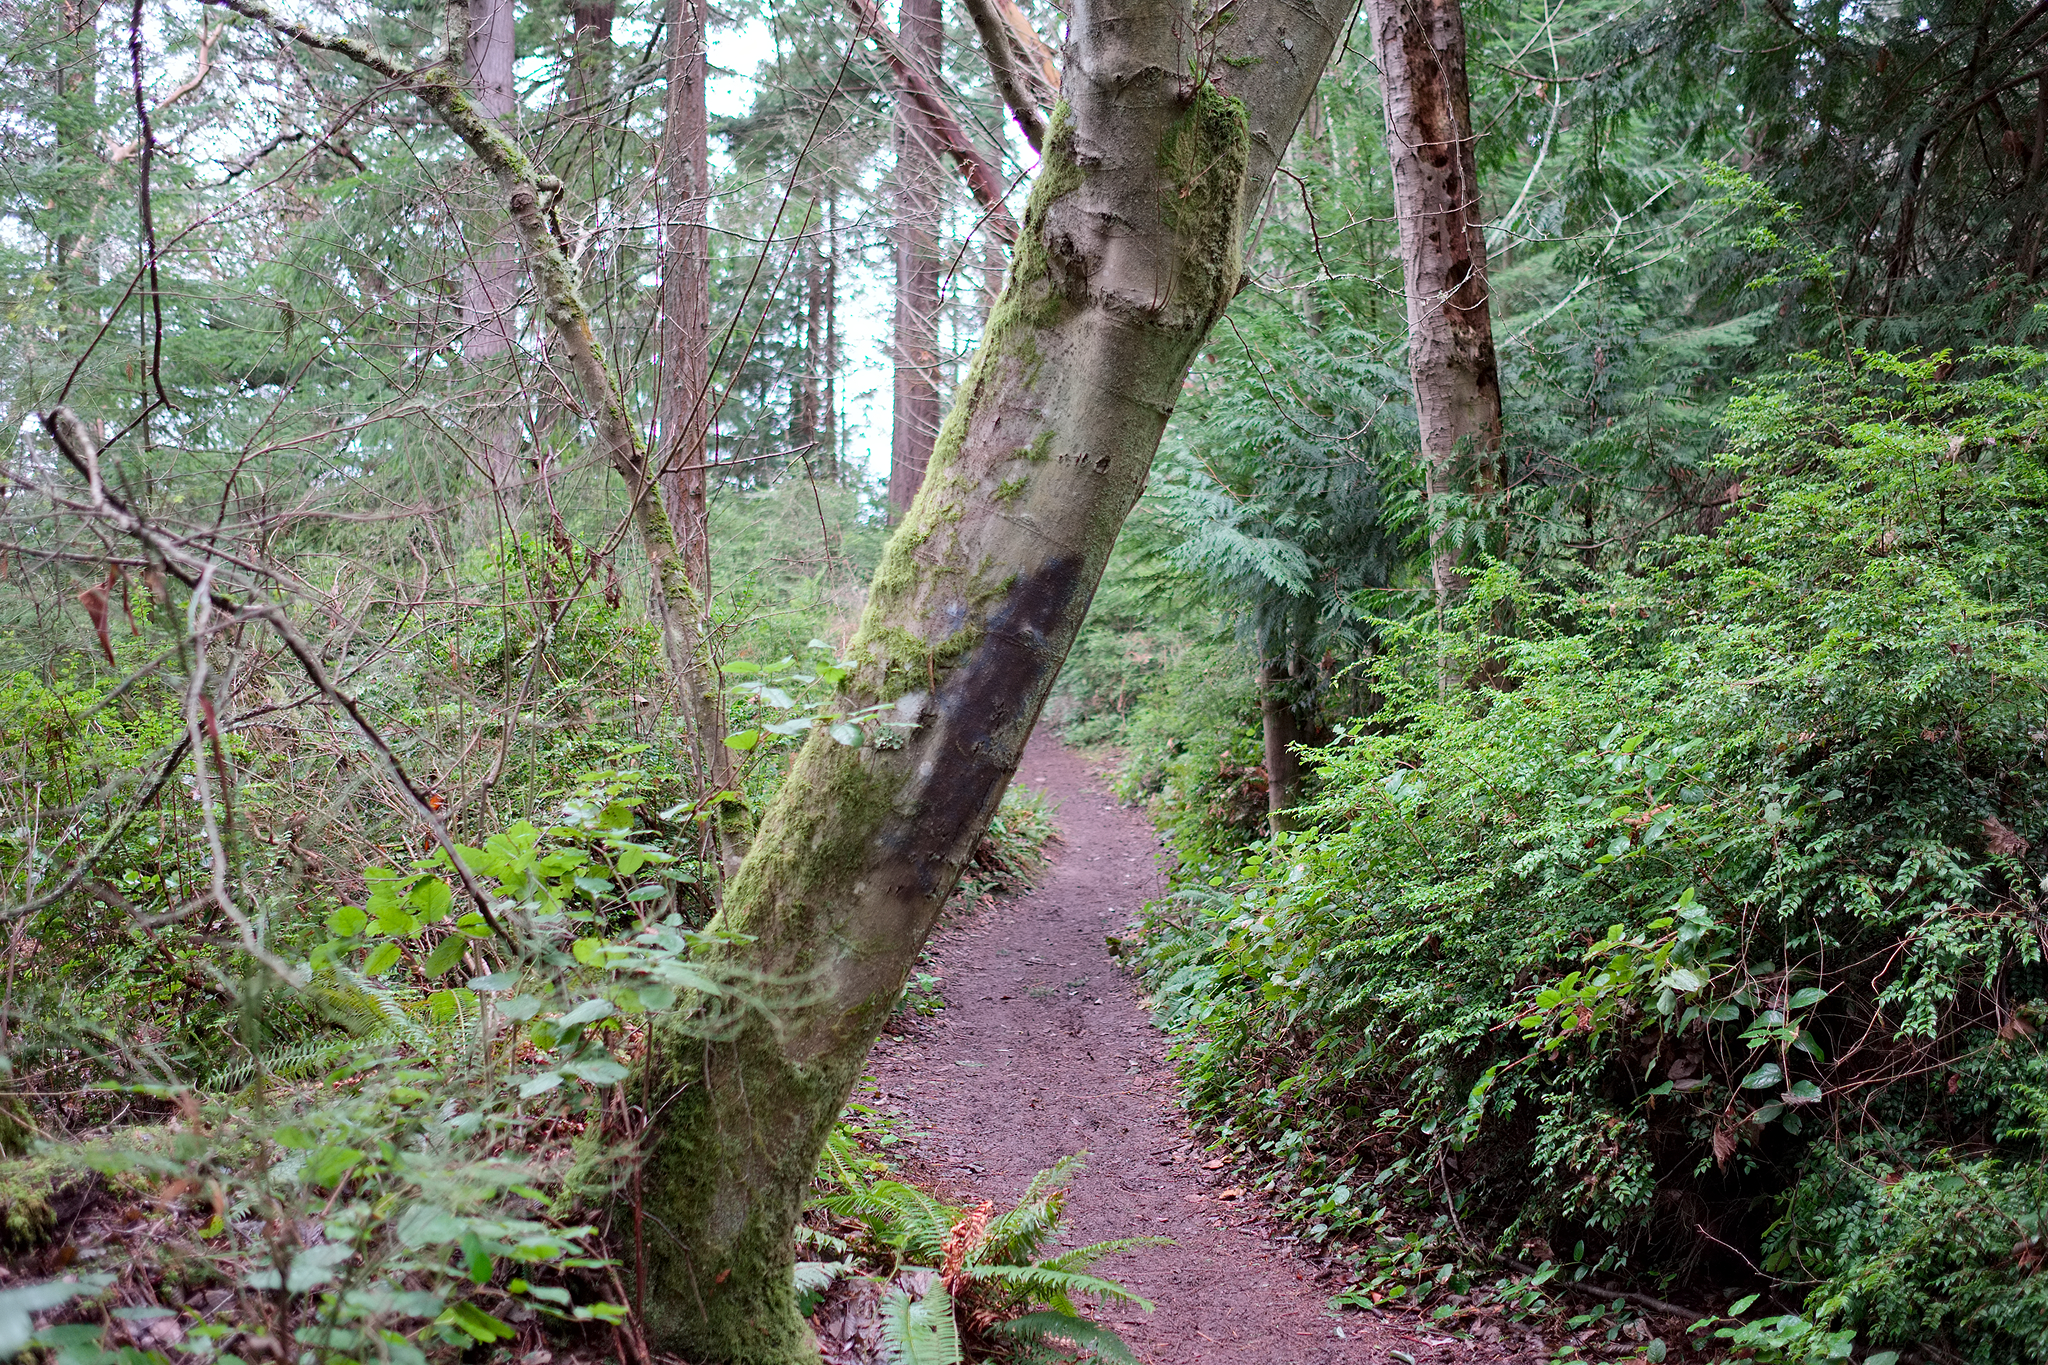
Here’s the same shot processed to my eye how I liked it in Iridient Developer:
Here’s the shot processed in the Camera with the Velvia film setting:

Right away the color shift is terribly obvious, but so is the detail of the Iridient shot. I like editing in Lightroom a lot better, but that detail is shitty compared to Iridient.
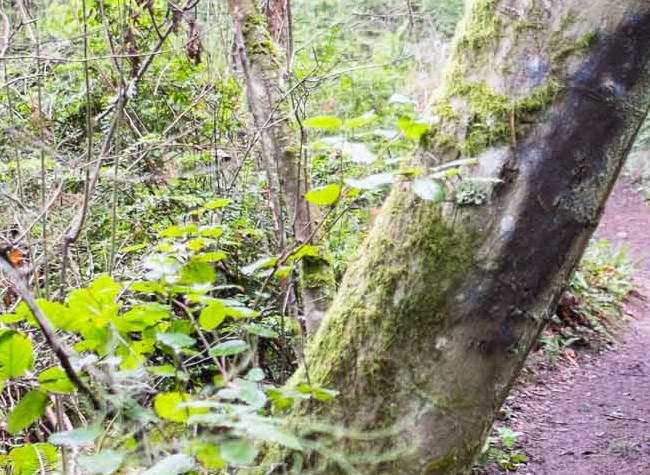
For better comparison, here is a crop that readily shows the difference. Again, Lightroom:
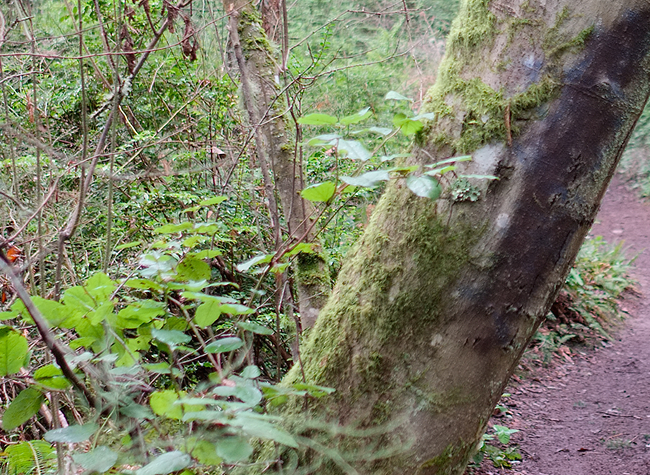
And Iridient:
And out of the camera:
There’s a huge difference and Iridient seems to do the best job by a large margin. So do keep in mind it’s not just the lens and camera, it’s also the software that makes the shot.