When I left my company at the beginning of this month, I had to cancel the Adobe Creative Cloud subscription that I had, and I did so with a little too much glee — because the next day I remembered that my copy of Lightroom was tied to it.
Oops.
It wasn’t for a few days that I found out Lightroom really never fully expires, but I was right fully worried — Lightroom was where I edited every photo I took.
I briefly thought about buying or subscribing just for Lightroom, but that seemed silly. So I kept thinking and I came across a new app in my Reading List: Flare 2.
I never gave Flare a go, it looked gimmicky to me when it came out — like Instagram for the Mac — but in truth it is exactly what I want. And probably just about what every normal photographer needs: a quick way to get your photos ready to share.
It’s dead simple.
That’s not the end of the story though, because stock Flare 2 isn’t anything close to what I need. But add in Flare effects for the iPad and about 30 minutes of my time — now I don’t need any other apps to edit my photos.
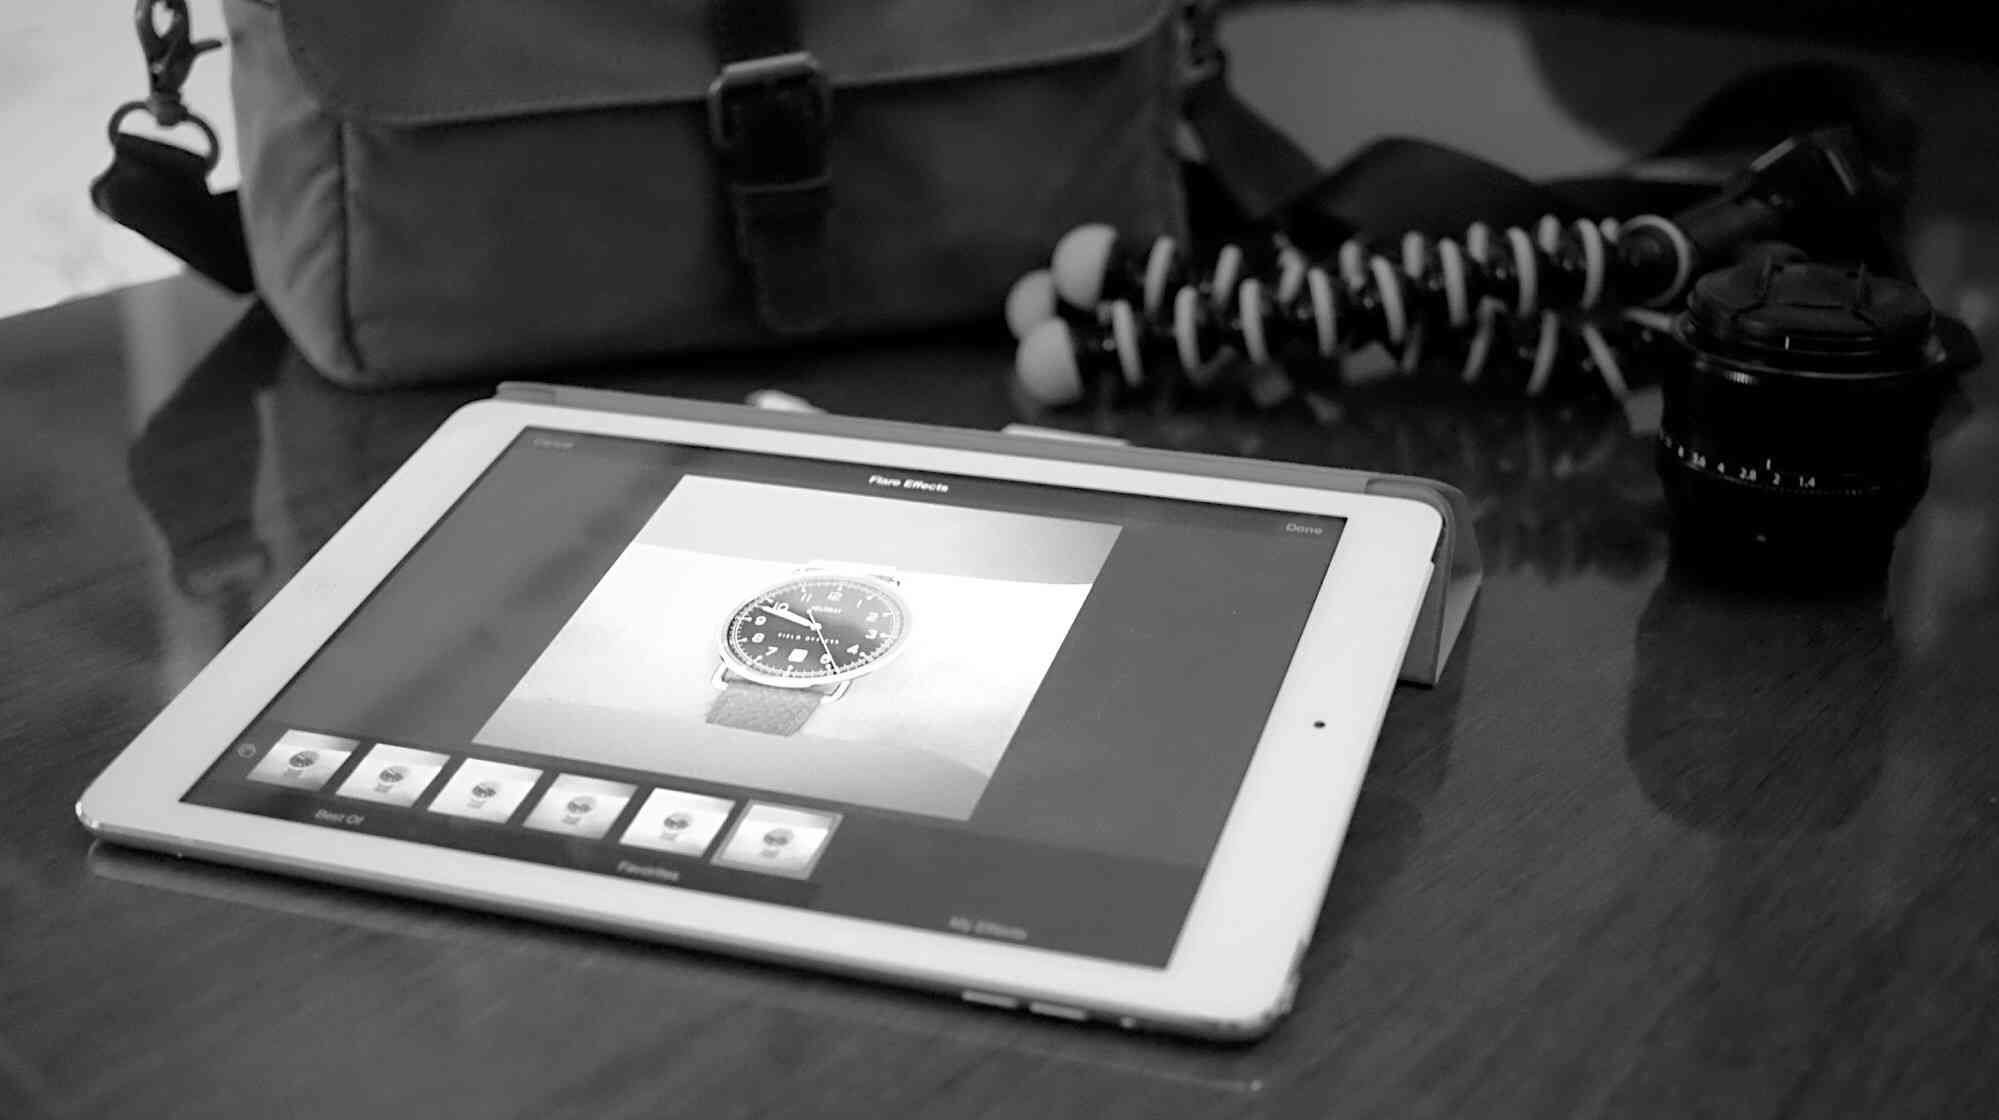
That’s not me dramatizing the statement either — I do all my photo editing inside the Photo app on my iPad, with Flare Effects, and the stock set of cropping tools.
How To Let Go
The hardest part for people to grasp when I tell them I’ve ditched Lightroom, or any other “advanced” editor is that they see it as basically turning my photography workflow into Instagram.
Sure, I’m using filters, but I have a spoiler for you: most “serious” Lightroom users are just using filters to begin with — except in Lightroom they are called “presets”. So you know, not filters, clearly.
What finally pushed me over the edge was a long look at how I actually use photos. My primary goal is not to make art, but to capture moments and in that, when I do capture a great moment, I want to share that image quickly and widely. I don’t want to share the unedited image, I want to make the image look great still, but sharing is really what photography is all about.
And so, with that in mind I looked at my Lightroom workflow:
- Wait a long time to import images from my camera. (Usually weeks after I took the photos.)
- Never import iPhone shots, where a lot of images reside.
- Once imported, rate images.
- After I rate them I edit them by choosing one of 12 “presets” that I have created.
- Apply cropping to select images.
- Share on Flickr, Studiobrooks.com, or other means like Dropbox, email, etc.
- Close my computer.
Even if I am just editing a handful of pictures, I still will take about 30 minutes to do all of this, between Lightroom being slow with RAW files, or me obsessing over minor tweaks.
What I realized in looking at all of that: it is a big pain in the ass.
I don’t like it, I don’t enjoy it at all.
Further, I don’t have the images in the most important place: my iPhone. What kind of bullshit is that? Not my kind of bullshit. This was at the moment I decided I had to figure out how to do this all faster on my iPad.
Note about iPhone: don’t bother.
How to Get Started Fast
The fastest way to get started is to download Flare 2, and Flare Effects. Then open Flare 2, add any picture. From there apply any of the filters you like, and click the edit button in the bottom left corner and remove the borders, then click My effects to save it to your effects. That will now sync to Flare Effects on your iPad.
Repeat that process for all the filters you like.
The filters themselves are decent, but the photo borders are really ugly if you ask me. This is the fastest way to get going.
Make the Filters Your Own

Now, I showed you how to get up and running by just killing the border effects, but you can also tweak all those filters however you like — or create new ones entirely. I’ve had a lot of success creating new filters. To do this I took a simple, but colorful, image and opened it in a great many apps that have filters I like, such as VSCO, and Lightroom for starters.
I then get a bunch of copies of that image and try to recreate the effects in Flare 2. That’s not nearly as tedious as you might imagine. To recreate the C3 VSCO Cam filter: it took me about 2 minutes. Does it look exact? No, but that’s not the point. I don’t need or want exact reproduction, I just want my take on it.
Doing that lends to a lot of filters fast. And gets you up and running with a good set of tools quickly.
Note about VSCO on iPad: It’s a great tool, but for me the hassle of moving images in and out of VSCO’s library is too tedious to bother with.
On the iPad
Now grab your iPad. I’ll let you in on a secret: don’t bother opening any apps, the photo app and the SD card reader is all you need. Get your images imported, and hit edit on the ones you want to edit.
Apple’s cropping tool is quite good, and if you took the photo on an iOS device, the photo will self-level/straighten when you hit the crop button — a really superb touch.
The power in editing on the iPad is just how quick it is to flick through your photos — this was always something that my Mac was surprisingly slow at doing. With the iPad here’s my entire workflow:
- Swipe through imported photos
- Edit ones that I like
- Tap edit
- Crop
- Apply filters from Flare, using the oddest icon in iOS.
- Mark as a favorite if it is one I really like
- Repeat
- Once I am done editing I select all the photos I want to share and either AirDrop to my Mac, or share with a shared iCloud album for my entire family to see.
On the off chance I am working on an image for this site, I can post directly with Safari to upload. However, most of the time I do this all from my Mac, as that is where my ‘to-be-published’ words reside.
Image Noise

The one downside to all of this is noise reduction. There are simply no iOS apps which reduce noise in an image the same way Lightroom can. Lightroom is the best way to reduce image noise.
I often shoot at ISO 6400, so noise is a concern for me, but because of the excellent Fujifilm sensor there is very little noise to begin with. I’ve switched to shooting RAW+JPG (more on this in a bit) and therefore I allow the camera to reduce the noise in the body.
Again, 95% of the time this works really, really well.
What If?
The biggest question I am likely to run into is: “what if XYZ?” What if I need to edit for this use case, or that use case. What if I need more resolution than JPG can offer?
All good questions.
What I have found is that these edge cases happen so infrequently it’s not hard to account for them. Let’s take image detail as an example.
Fujifilm sensors are capable of producing astounding image detail, so let’s say I take an award winning landscape shot that I need to process to perfection. Well, it’s not Lightroom I would do that in anyway — Lightroom does a particularly bad job with image detail as I have noted here.
So my system is still the same: if and when I want to milk more out of the photo, Iridient Developer is the best choice. I can even have presets there too.
And that’s why I am shooting RAW+JPG, all I have to do is remember to dump my memory card once a month and I get all the RAW images (using Hazel to sort and file them). I always have the RAW as backup.
The Biggest Annoyances
There are two major annoyances I have:
- I cannot preview the images on an SD card for newest to oldest. So when I import a card with a lot of images it can take a long time to load all the previews. This is actually a pretty shitty experience.
- Apps like VSCO and SKWRT don’t have extensions setup in Photos.app, so I can’t use advanced editors without dropping out of Photos.app.
For many, the first one will drive you nuts. It does me. My solution thus far has been to keep less images on the SD card, which means more backing up to my Mac. Not ideal, but I hold out hope there are improvements made on that front.
Conclusion
I’ve spent considerable time, more time that one should, thinking about and strategizing about this system and workflow. It won’t be complete until Apple releases the Photos app for the Mac, but until then editing on my iPad is:
- Substantially easier
- Substantially better
- More shareable
- Way more fun
And I lose very little overall. As time progresses, what I lose, will become less and less. I could not be happier editing outside of the clunky Lightroom workflow. Editing photos should be fun, not slow and painful — the iPad achieves all of that and then some.