When RAW image editing and workflow software started to hit the mainstream I checked out the three biggest name offerings: Photoshop Lightroom, Capture One, and Aperture. At the time I couldn’t stand Lightroom, so for three versions I stuck with Aperture. It was dog slow, and couldn’t do some of the really neat stuff Lightroom could. Aperture, though, had a logical workflow (and worked pretty well overall).
And then I saw the noise reduction capabilities of Lightroom 4 and I tossed Aperture to the side ((Just as it seems Apple has done with the app.)) and moved over to Lightroom. Since then I have been trying to make the most of Lightroom.
There’s no right and wrong way to do things, but maybe you will find a few helpful nuggets in how my Lightroom workflow goes.
## Settings
First things first, you need to get your settings configured properly.
#### General
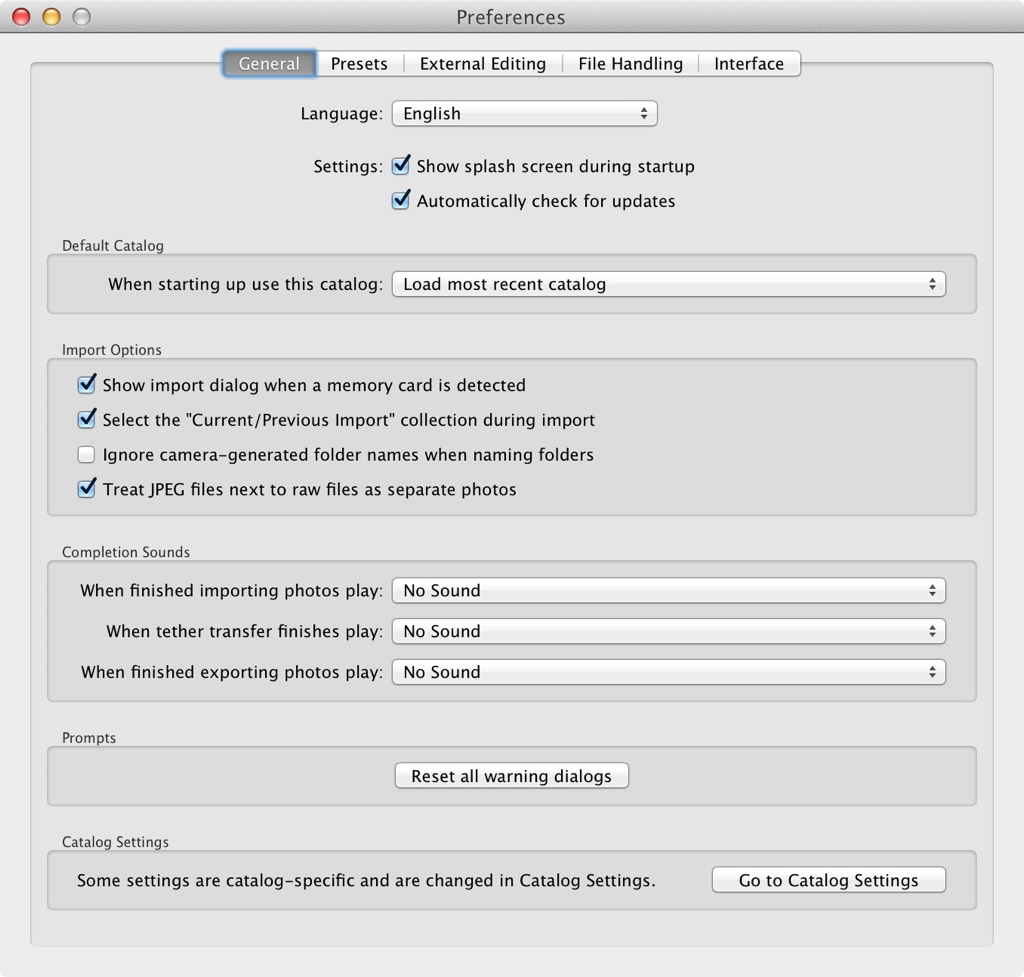
In the general tab I only really care about one setting: “Treat JPEG files next to RAW files as separate photos”. I turn that setting ‘on’ (it is off by default) as I have taken to shooting RAW+JPEG to make use of some of the nicer in-camera scene/profile settings out there. I use those JPEGs to share with people around me in the moment (e.g. my Wife), but still want the RAW file should it need tweaking once I get back to the computer. If you have that setting off, you will never get those jpegs imported into Lightroom.
#### File Handling
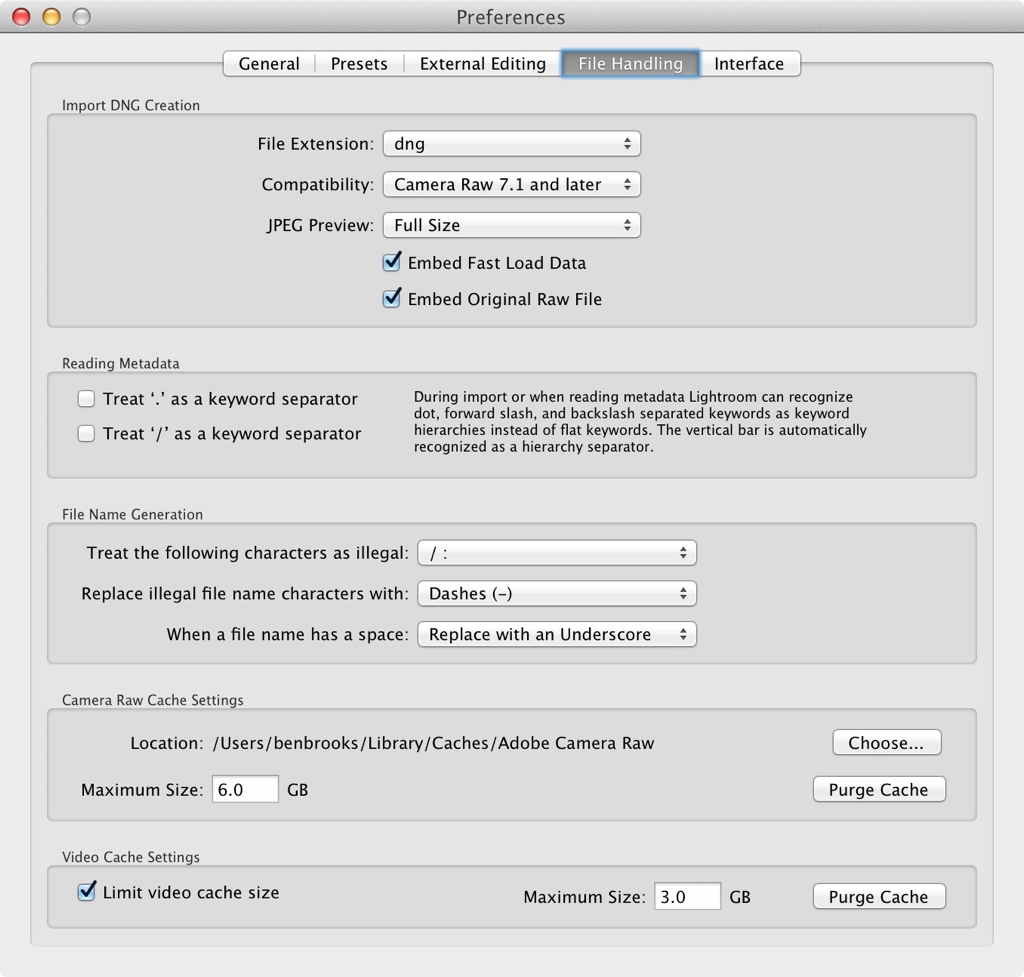
In the file handling tab I change a few things to better fit my workflow and, specifically, my Mac. ((I am working with 16GB of RAM as a point of reference.)) I change the JPEG preview to ‘full-size’ and I embed the original RAW file out of paranoia that I may want that at some point should I decide to randomly convert to DNG. I also force spaces in file names to be replaced with an underscore for better web compatibility — unfortunately this effects your folder naming too. Lastly, I set the camera RAW image cache to 6GB and video cache to 3GB — both arbitrarily chosen, I would appreciate advice on this if you have it.
#### Catalog Settings

That’s all I do in the Lightroom Preferences, then I move to the Catalog Settings.
Pro Tip: you can change how often you see that nagging backup dialog.
More importantly you can swap over to ‘File Handling’ and change some preview settings. I have mine set to 1440 wide, High quality, and to never delete the 1:1 previews. That seems to work well for me.
Lastly, you can go to the Identity plate setup and change the fonts for the tabbed sections as well as have your name displayed instead of the Lightroom text. This is not important but I like a nice font to look at.
## Import
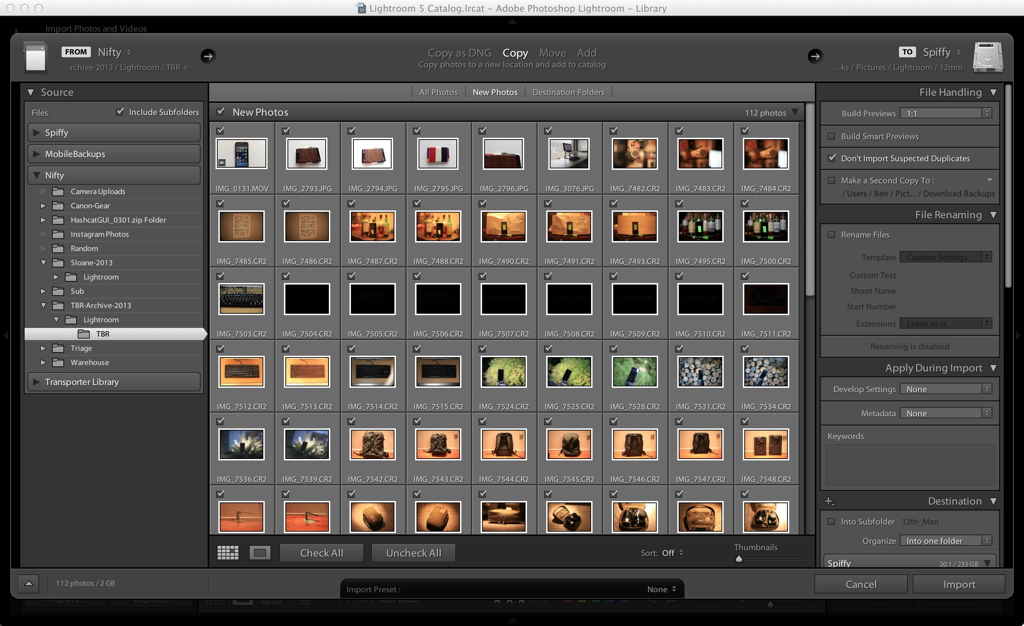
Now that Lightroom is adjusted properly, the first part of my workflow is always an import to bring in new images. There’s a few important things to note on this screen. The first is located top center of the screen: “Copy as DNG, Copy, Move, Add”. Typically you should set this to Copy, and nothing else. The DNG option converts the file (remember when we embedded the original RAW file in the last section). Move, moves the file, and Add keeps the file(s) where they are but adds them into your Library. So, Copy is likely what you want.
More importantly at the top left is Build Previews. If you use Lightroom you may notice there is a lag while moving between photos as the app renders the blurry preview to a sharp image. I set this option to 1:1, meaning after the images are imported Lightroom then builds a 1:1 preview for each image. The import takes longer, but you can then cycle through the images much more rapidly (which is important in the next part of my workflow).
Note: If you edit any image, the 1:1 preview for that image will be gone.
There’s not much else I do. I keep images grouped in folders in a way that likely only makes sense to me.
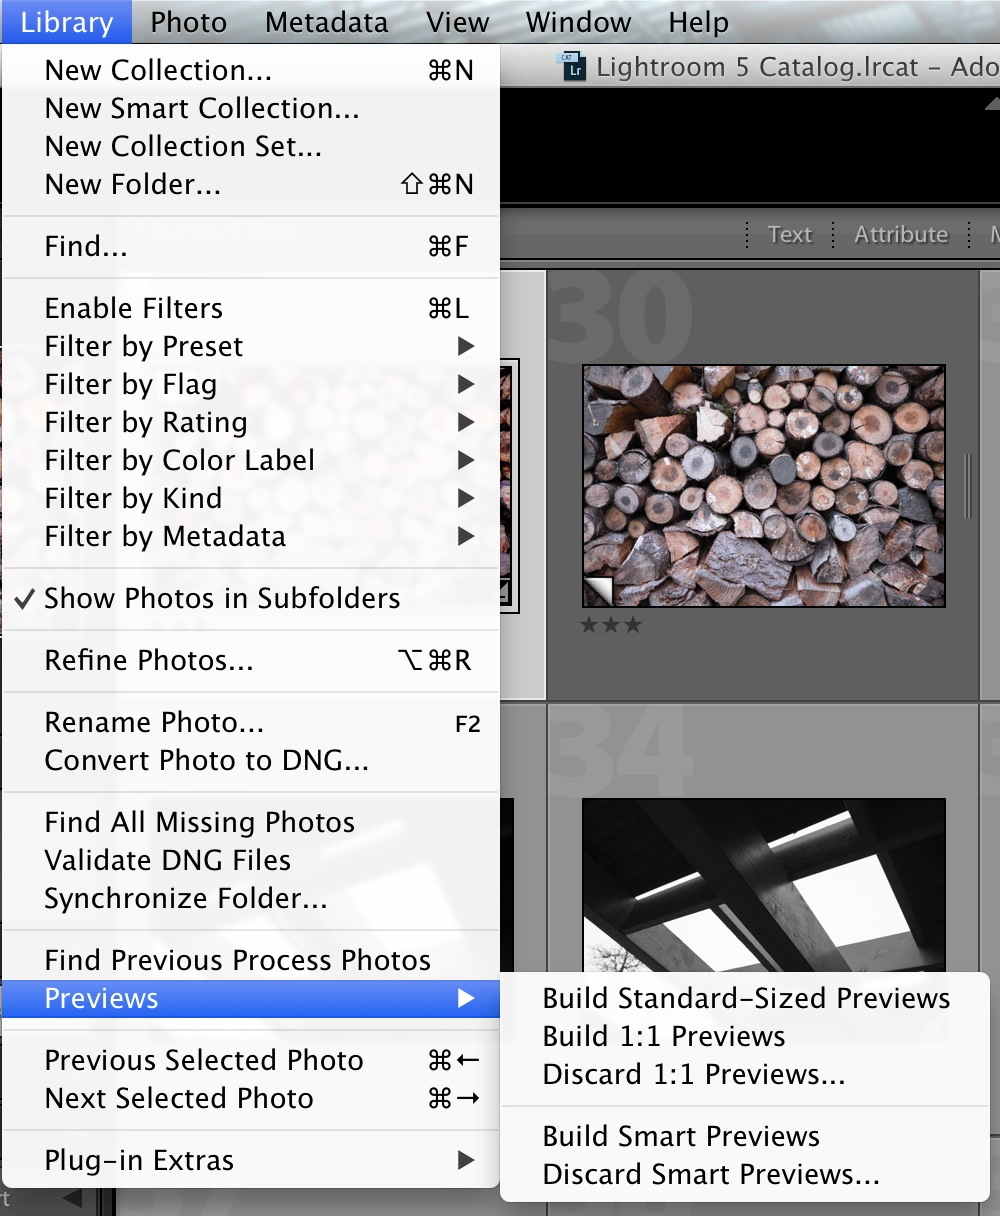
## Triage
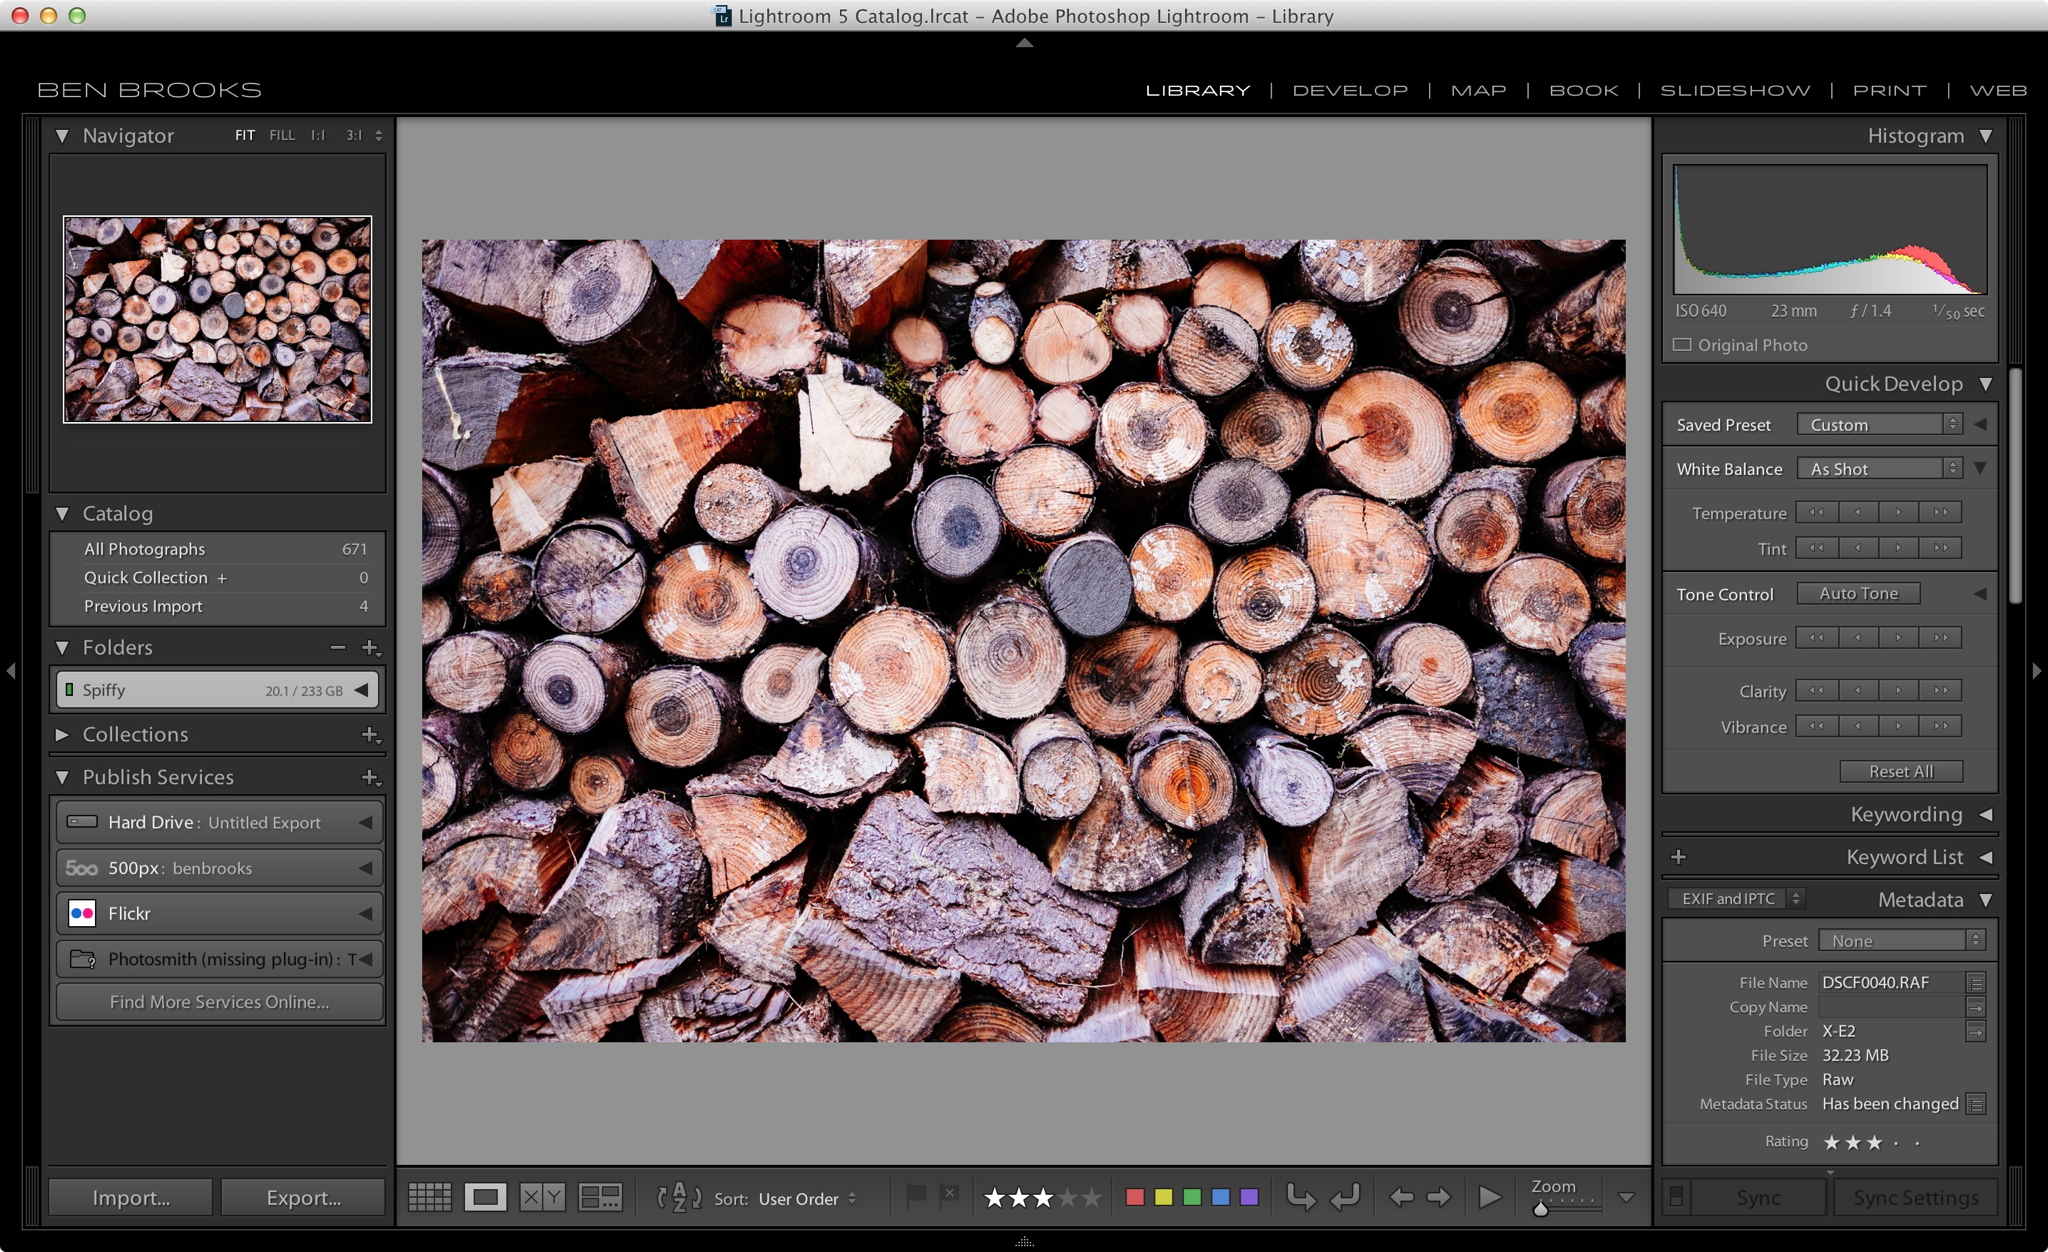
Now I have a bunch of photos in Lightroom, all with rendered previews. Before I edit a single photo I triage all of them so that I can take advantage of the speed 1:1 previews give me (remember: once you edit a photo, the preview needs to be rebuilt).
I triage by viewing images in as large a view as I can (hit Tab, or switch to fullscreen), and then:
– I set rejected images. These are any blurry, or out of focus images.
– I set a rating of 1-4 stars for non-rejected images.
– 1 star = keeping it for posterity
– 2 stars = maybe something here, worth a quick edit.
– 3 stars = likely a good shot.
– 4 stars = _OH_ yeah, we’ve got something here.
– 5 stars = I refuse to give 5 stars before editing an image.
Next I remove all rejected images from the library so I can focus on the better images. I then set my view filter to anything above 1 star, helping me to ignore the shots I am just keeping to ‘keep’.
From there I typically enter the Develop module to begin editing.
## Editing
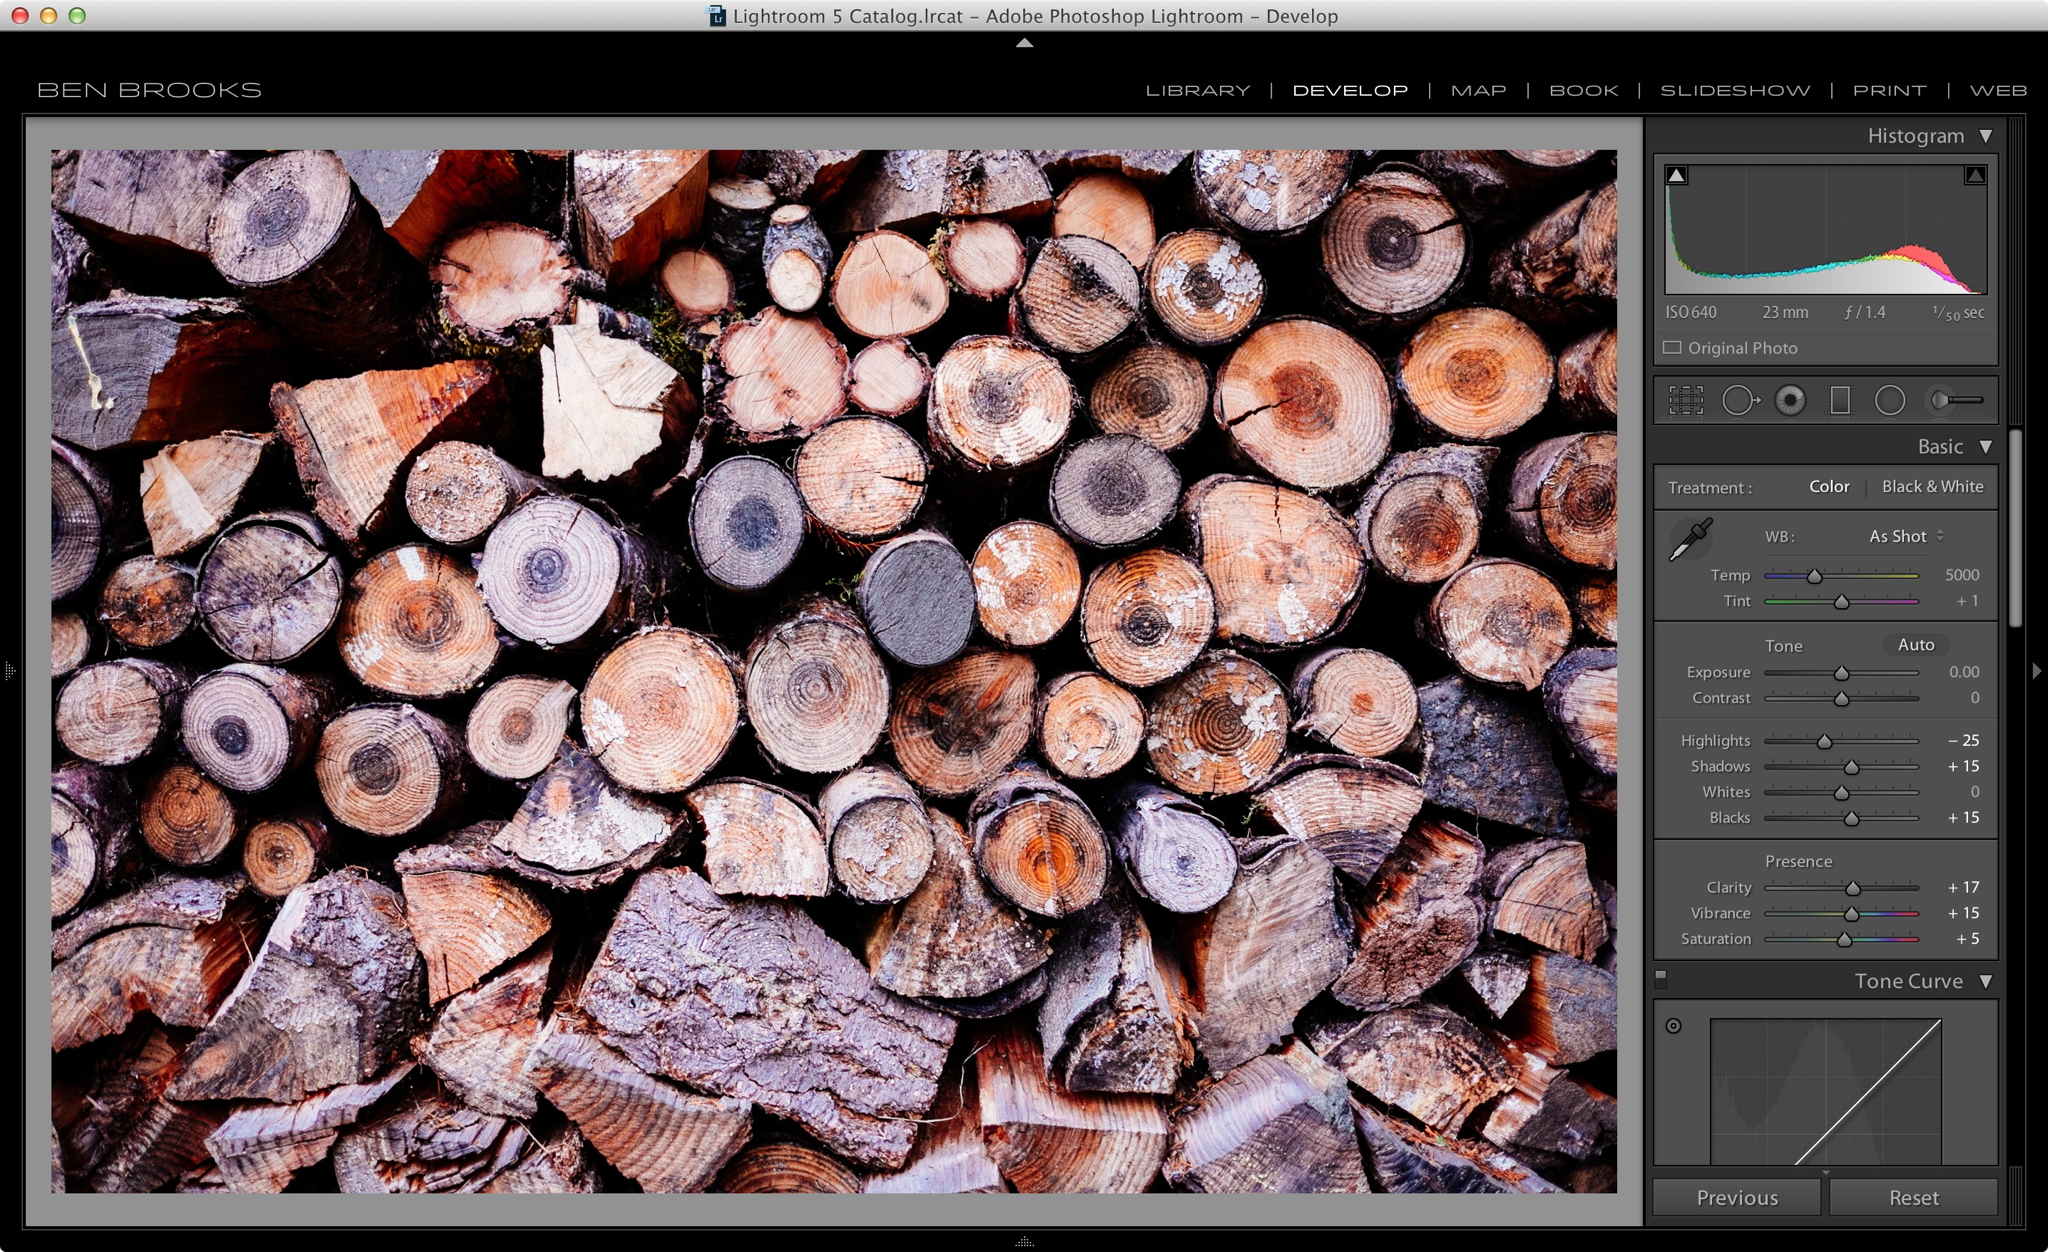
If I took a grouping of images at the same location, and the white balance is off, I will fix it in one image and apply these settings to all the images I can. This way I don’t have to think about white balance as I try to edit the images.
From there I typically just apply a preset to any 2 star image, using either Trey’s Lightroom presets, or VSCO filters. Occasionally, I will bump up the rating on a 2 star after I apply a preset — but not typically. Any image with greater than 2 stars gets a full treatment — I try to stay away from presets for these images.
## Sharing
After editing I share the good images to Flickr, or 500px, using their Lightroom plugins, or I can export them for upload to my CDN for showing in a post here.
I also have a workflow to send good photos to my iPad via the Lightroom Photosmith plugin. The advantage is that I can add them to my camera roll and thus Photo Stream, but it is a shitty workflow to be honest. You could do the same thing with iPhoto/Aperture on your Mac, but then you would have to import those photos to each app. I wish Apple would open up Photo Stream (though the rumored Lightroom iPad app may make this point moot).
## Before I Quit
Before I’m done I go back and build new 1:1 previews for all the images I edited. This helps with speed the next time I move back into Lightroom and look at older images.
## End
Hopefully this helped someone. If you have any tips, please get in touch to share them.