
In my review of the X-Pod I talked about how much I liked it, but I also mentioned how much the bag had going on and how overkill all the straps are. I got bored one day and started hacking away at the bag to try and make it into something I liked a little better.
This was a success for me, so here’s what I did.
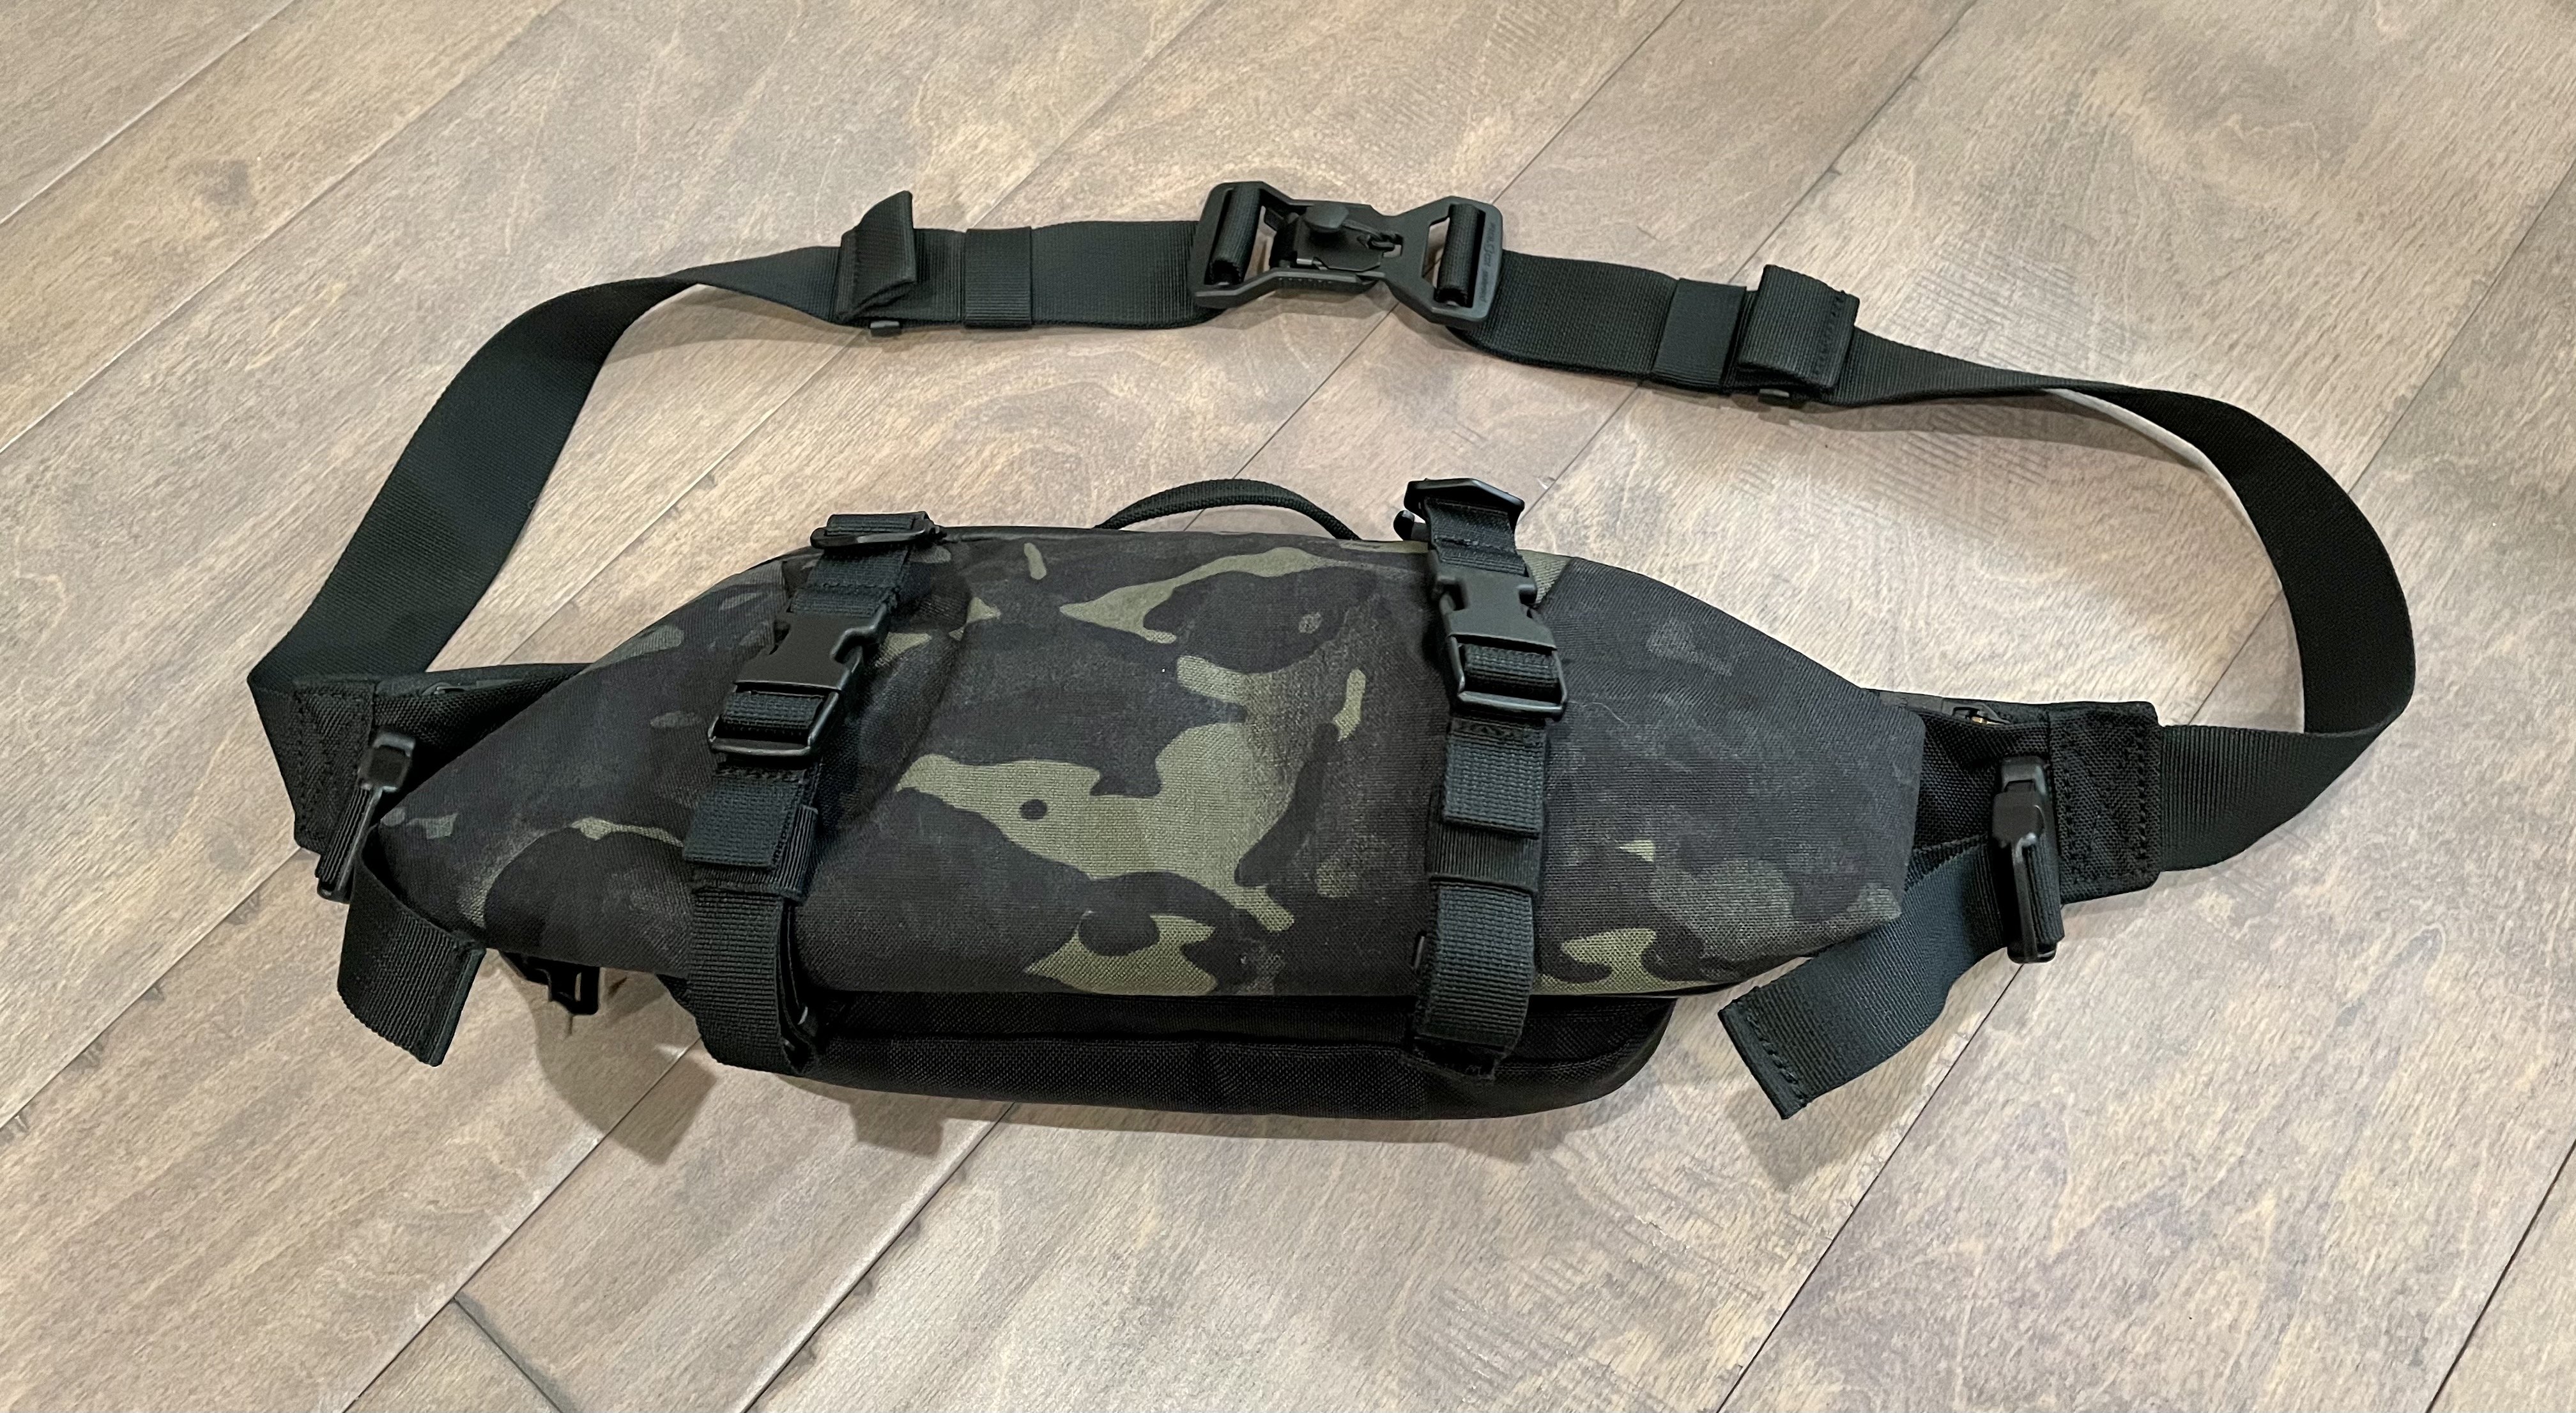
First, my starting point:
Change the Front Straps
The front straps (which can hold bulky items or compress the front compartment) are a mess when you get the bag. They look like this:
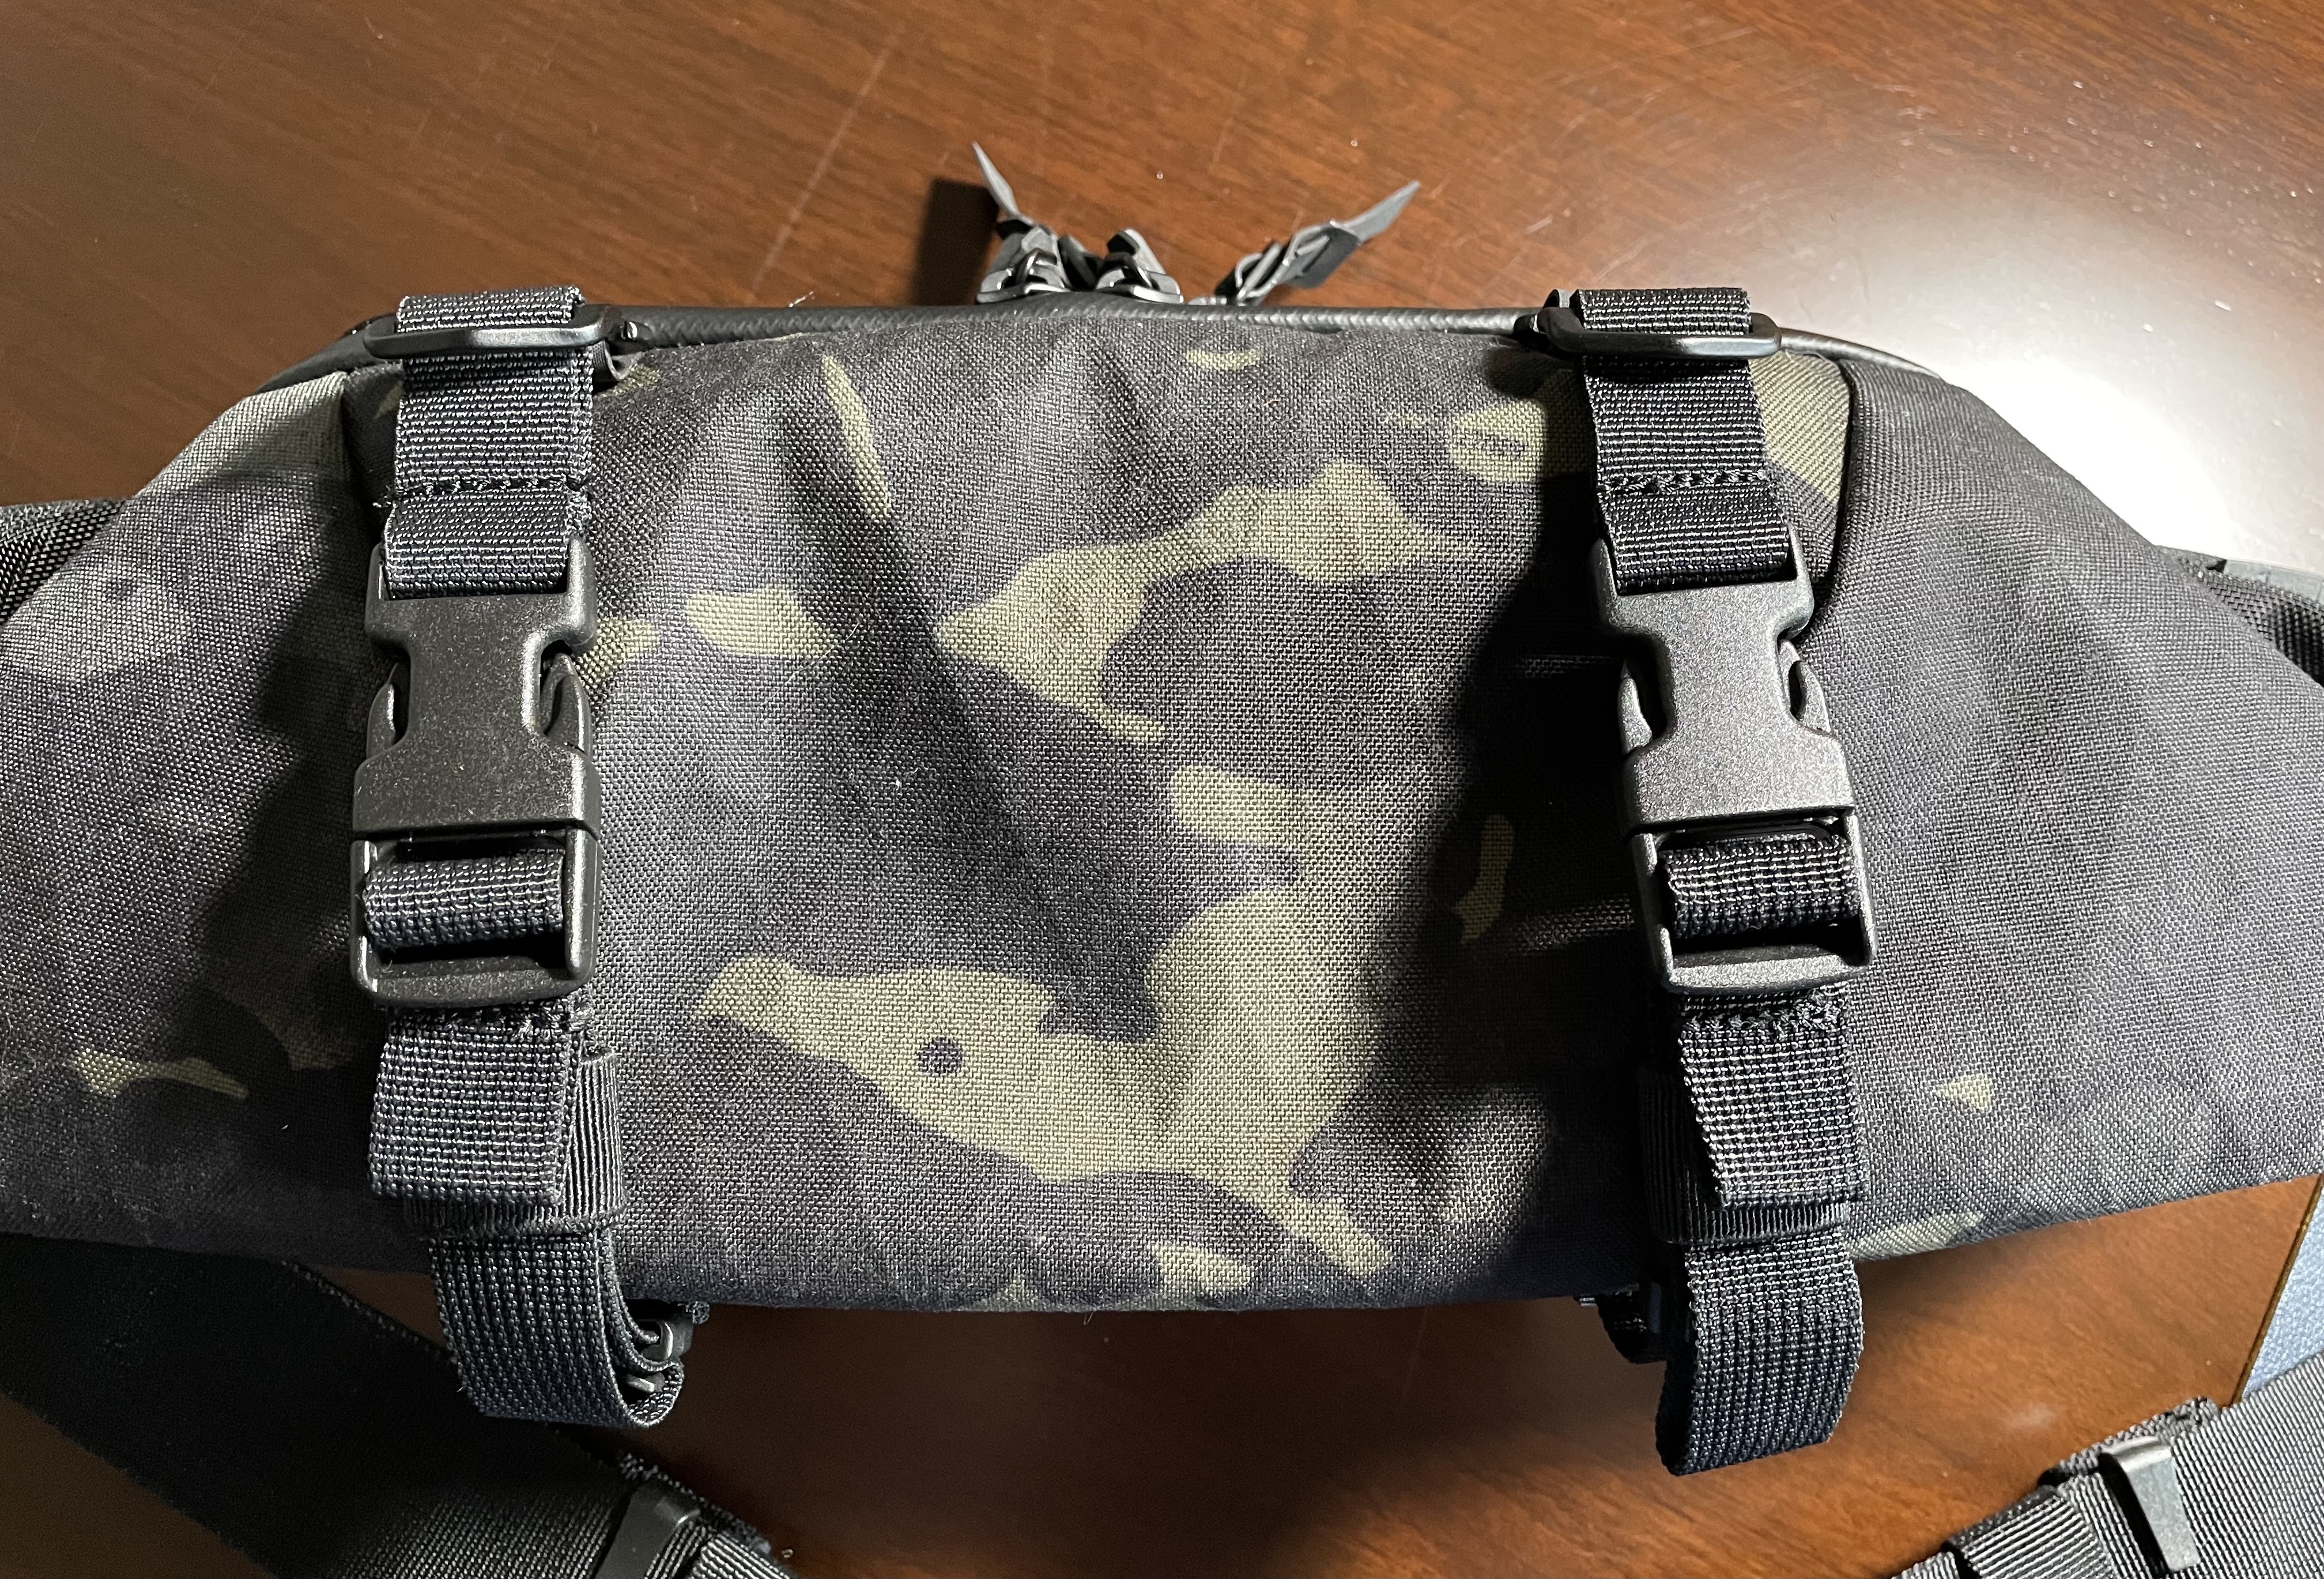
There’s a lot going on with them. First they have a g-hook at the top that connects to the top of the bag. Then they have a standard side buckle which allows you another spot where you can detach the straps or adjust the length. And then at the bottom is a snap button that allows for another anchor point for attaching to the bottom of the bag. Luckily, they do come with two strap minders on each strap, but it’s a lot going on, and never looked clean to my eye.
So I did this:
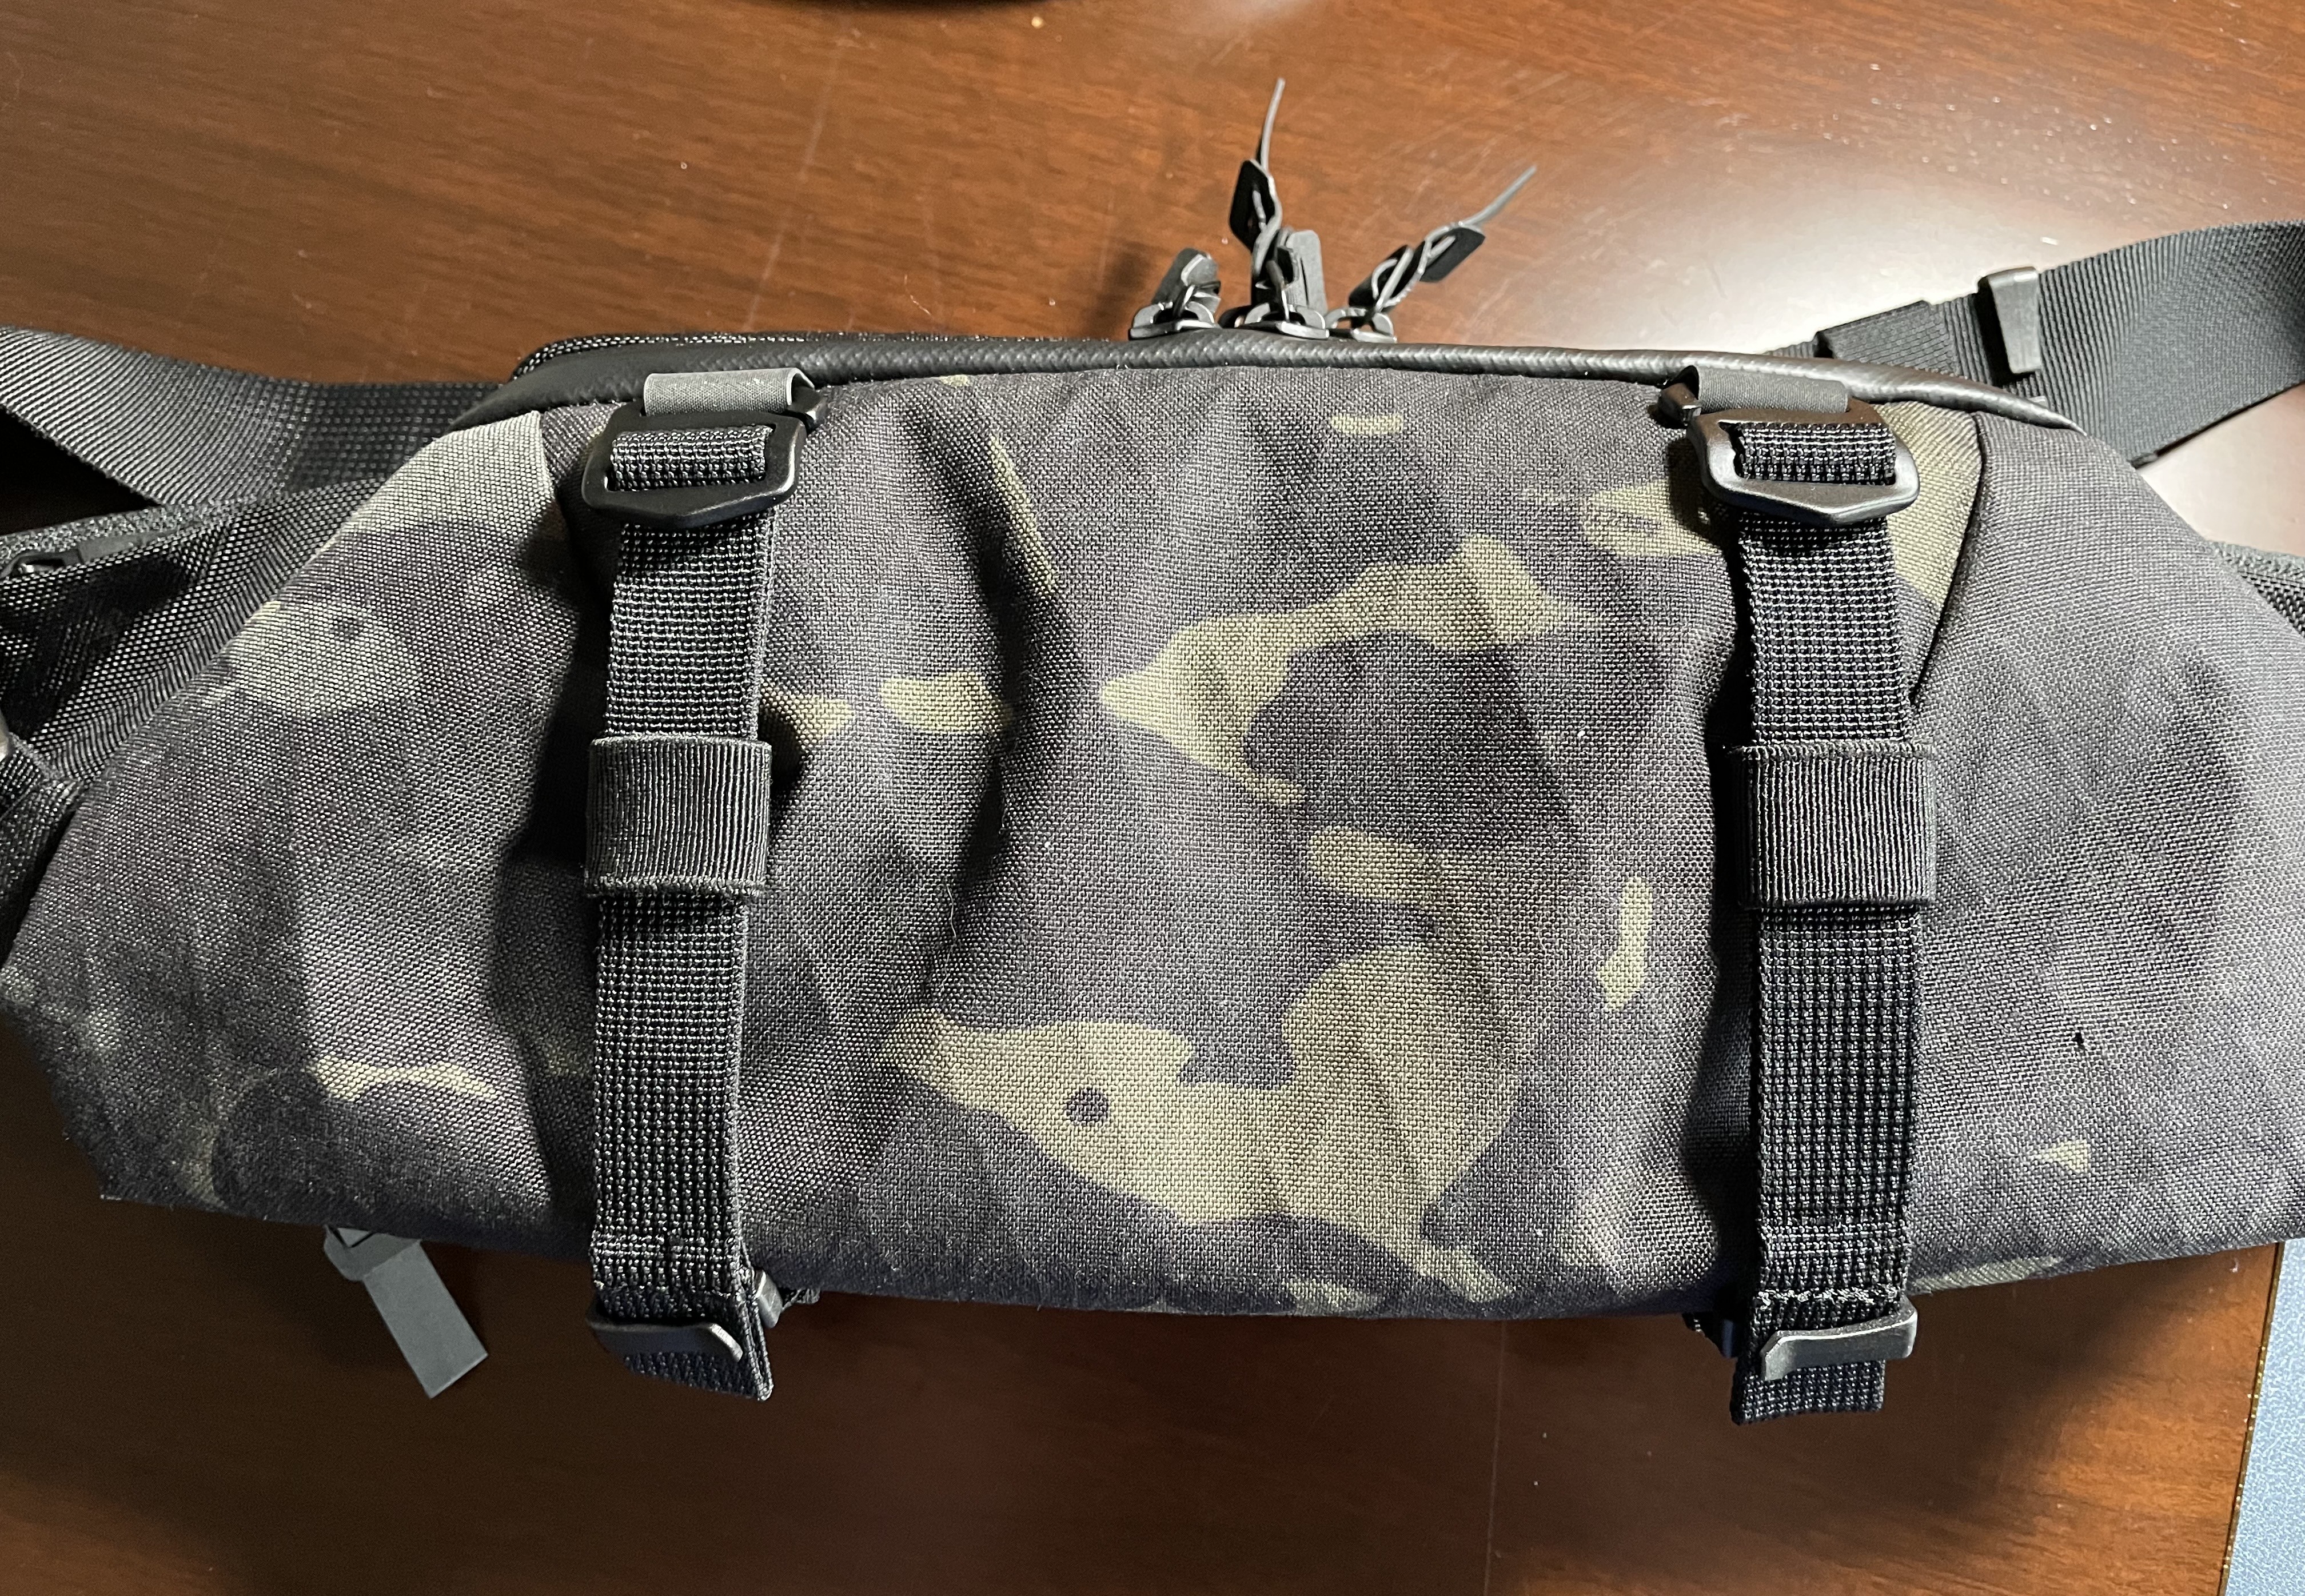
This I was pretty quick to do, but a little destructive. I cut the buckle out and tossed out the top portion of the strap. Then, I had to cut the folded over strap so that I could weave the strap back through the g-hook on the top portion of the strap that I cut out to salvage. Thus I have a snap button at the bottom to anchor the strap, and the g-hook to adjust and detach from the top area.
This alone, is killer for me. It cleans up the look substantially and I am not sure what I lost in doing this. I still have the plenty of expansion to accommodate the front compartment fully expanded, while removing those terrible looking buckles. The setup looks nice and clean now. Much better.
Fix the Zipper Pulls
Almost all the zipper pulls on this bag came setup like this:

I actually like the pulls on these, but the zippers were prone to jingles, so I needed to change them to something which wouldn’t. I decided to weave the pull tabs differently and it worked out great:

This was a quick fix, but makes a huge difference and looks a lot cleaner. Most would assume it came like that, and then wonder why it doesn’t come like this.
Remove Tags
Even more destructive was cutting out all the tags inside the bag. Unfortunately in doing this I cut the lining material too (which is very thin) and had to use a bit of tenacious tape to cover over. It’s not noticeable immediately, but you’ll want to take better care in doing this than I did.
Change Out Compression Buckles on the Side
These side compression buckles were the biggest annoyance on the bag for me, they looked like this:
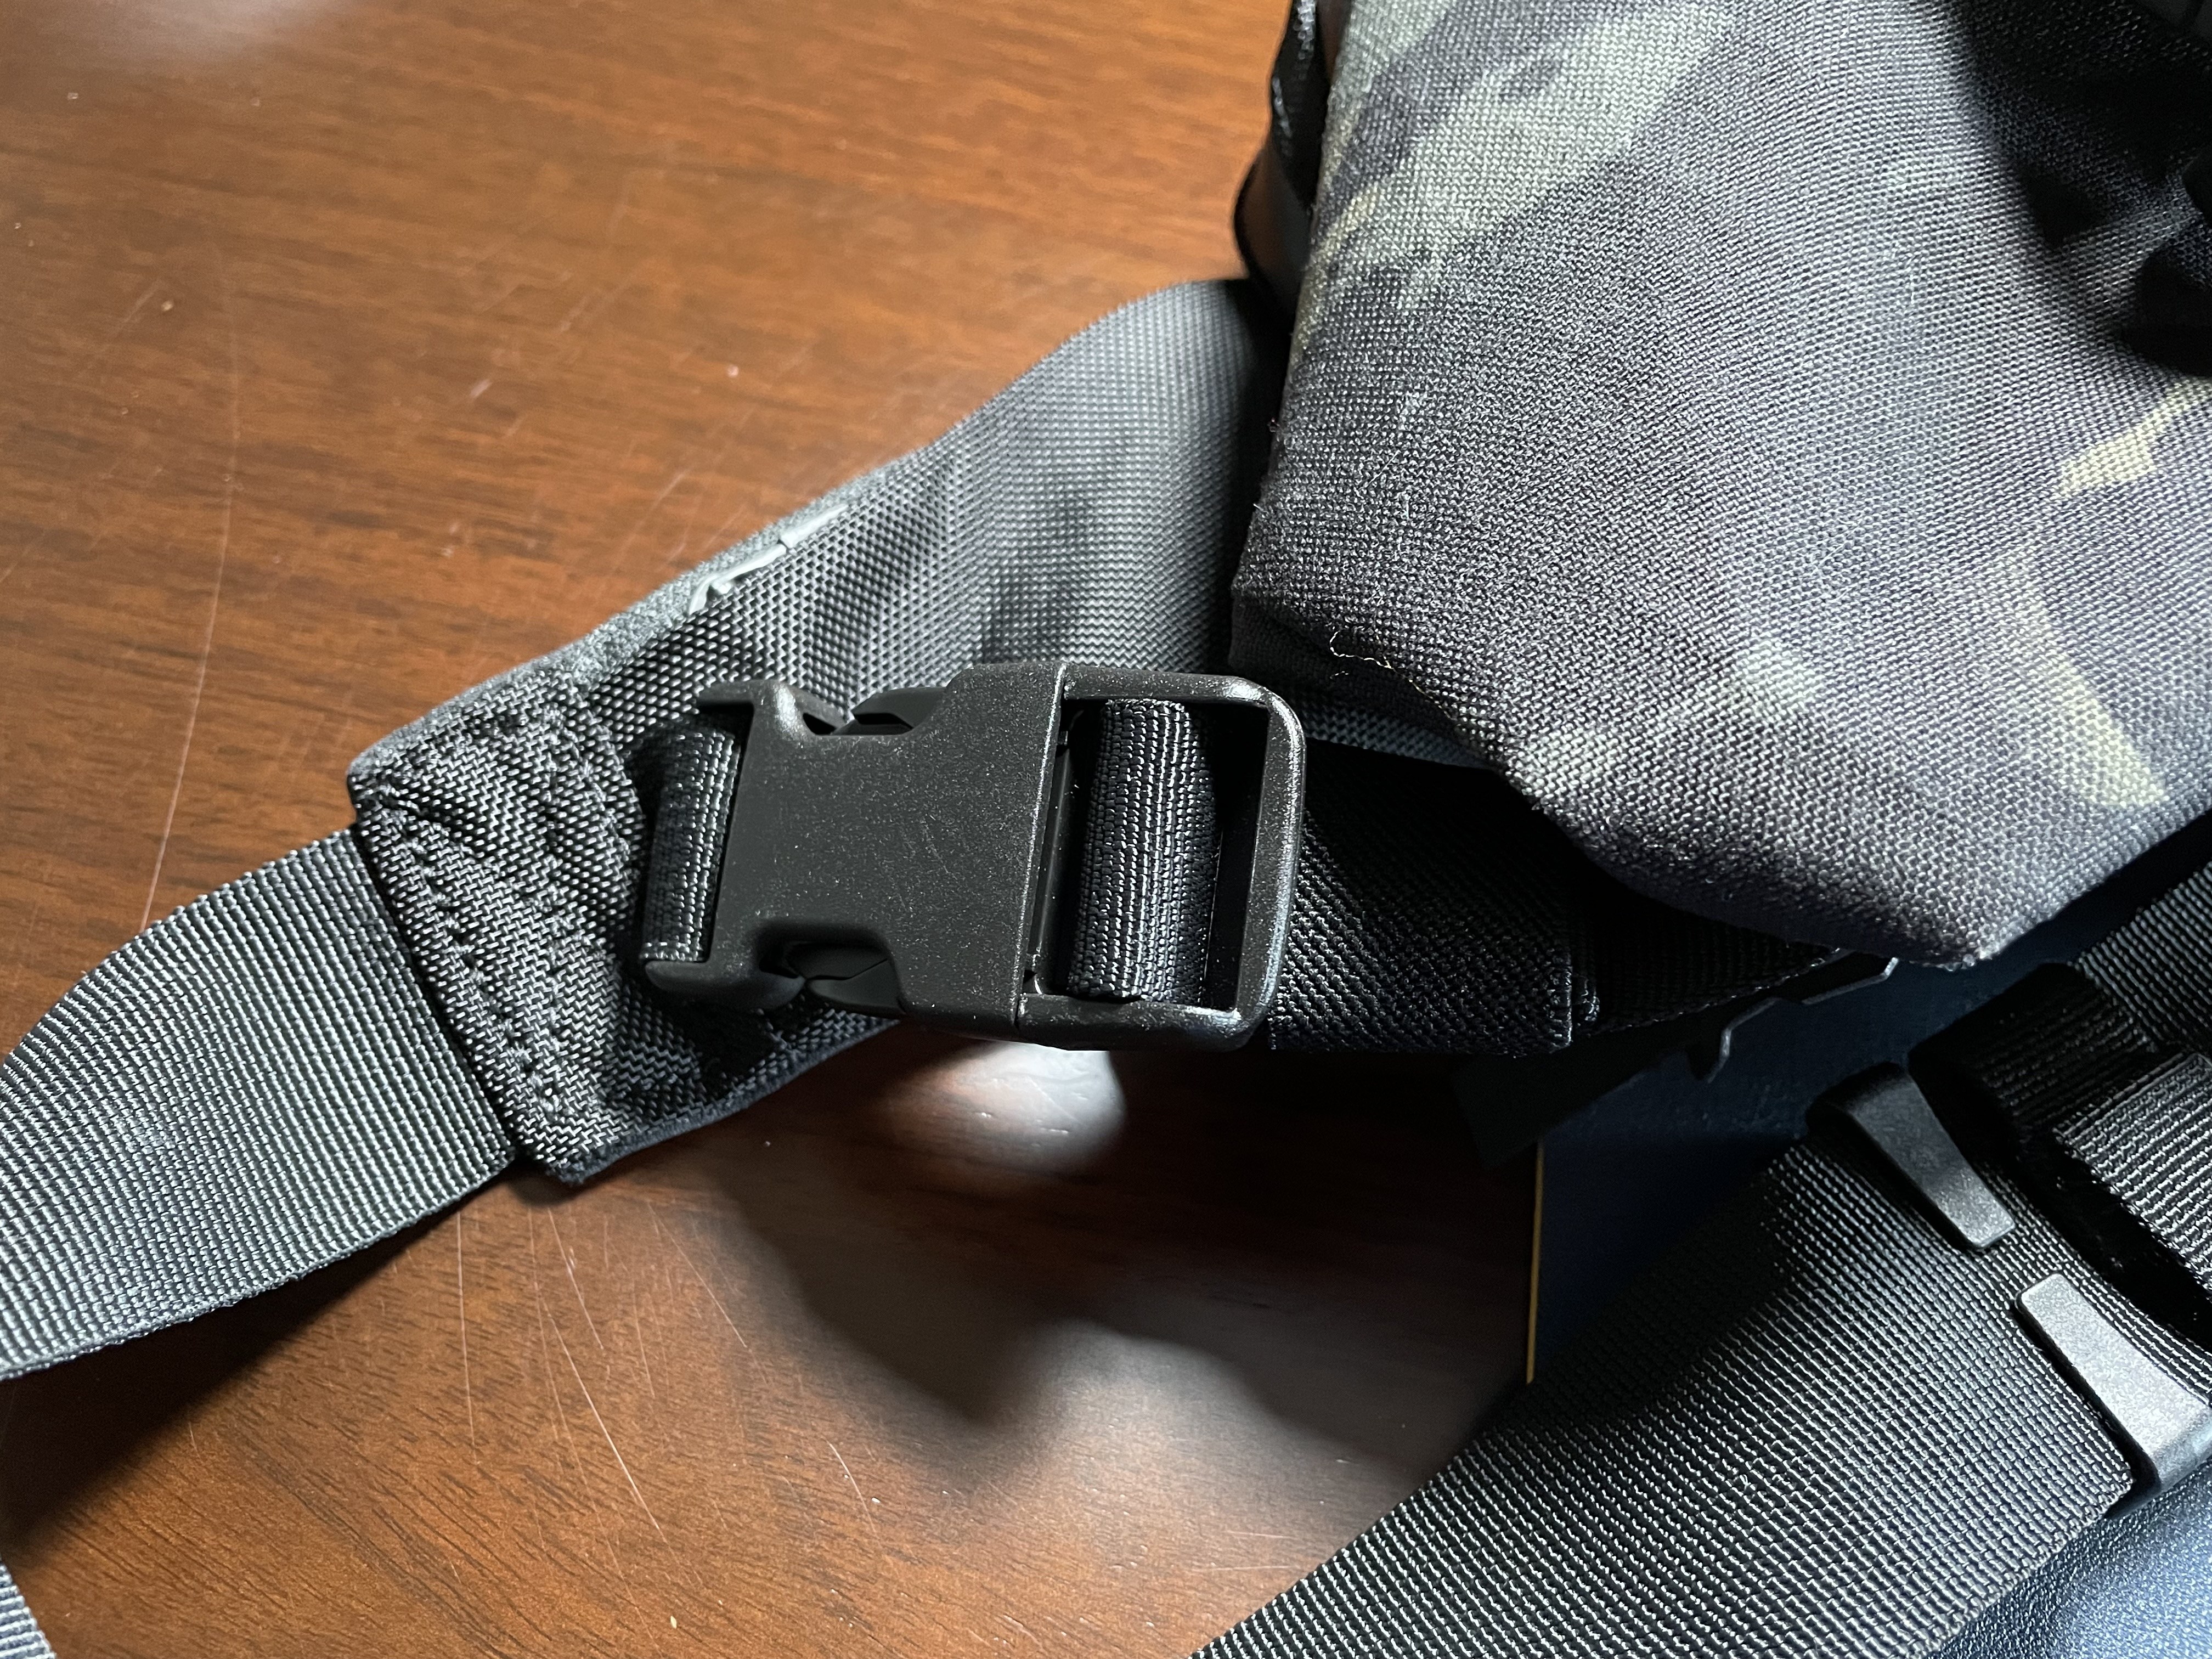
And you couldn’t compress the bag enough with them because of how huge that buckle was. I struggled with how to tackle this, but eventually came up with the idea of using a plastic g-hook buckle for this, and ended up with this look:

That kept the functionality the same, in a much more compact package. I may swap this out with Siamese buckles in the future to further slim it down, but for now this works well enough and was an easy change out. This was destructive, in that I had to cut the buckle on the fixed side to free it, but that loop then became the loop I hook into.
The strap so far has remained more than long enough for anything I would do with it. No clue why this isn’t standard.
Changes Overall

All of these together make the bag cleaner looking, and with less redundancy in the functionality. You can also run the bag without the front compression straps, and I am not sure you lose much in doing that, but I prefer the look with them left on and cleaned up.
Overall: big fan, which is good because it’s not easy to go back.