I mentioned this in my post about why I’m going to be talking about tools more, but in addition to tools, I’m going to be talking about some of the projects I’ve been doing — because why not, it’s my site. Anyways, if you missed my rant about cheap furniture, you can read it here, but here’s the short version: furniture has gotten more expensive and worse in quality across the board. Thus, buying something very high-quality with a lifespan in the decades range is nearly unaffordable for most.
So, I thought I would talk about two tricks I employ when it comes to trying to make cheap furniture slightly better and last longer — and certainly feel more stable. These require next to zero skill, other than a little planning.
Let’s start with a basic set of tips.
Really quick: I don’t want people buying a bunch of stuff to make cheap stuff last. There’s only a handful of things I actually use for this — mostly because I already own them. Here’s the full list:
- Glue
- Something straight and narrow/flat that you can measure with. A literal ruler is fine; a tape measure is not.
- Wood chisel (optional)
- Sandpaper
- Pocket-hole jig with drill (helps a lot)
That’s the list, and the first one is the big one.
IKEA and Other Flatpack Construction
Alright, we all know IKEA-style furniture: lots of particle board, lots of dowels, a few screws, and way too many cam locks. Most flatpack-style furniture (which, dare I say, is the bulk of what you end up buying these days, even if you try to avoid it) is put together using these same methods. Oh, and sometimes those really tiny fucking nails for the back panels — fuck, I hate those things.
Here’s the thing: over time, this shit gets weak because the wood isn’t great. There’s nothing you can do to make these “so much better,” but you can do a few tricks that might help them survive a few moves, feel more stable overall, and, well, that’s about it.
And the entire set of tricks is two things:
- Add glue.
- Don’t use an electric anything to tighten any part of it.
First, let’s talk about wood glue: buy Titebond II as the default. If you are someone who moves at a, umm, more methodical pace, get Titebond III. If you can’t seem to get it to stay put and it’s running everywhere, and you can work fast: Titebond Quick & Thick. But if in doubt, II. It’s not expensive, and Home Depot sells it. (It cleans up with water — don’t stress — but clean it while it’s wet.)
Wood glue seems silly, but if it bonds correctly, the bond is insanely strong. You’d not believe how much high-quality furniture is put together largely with wood glue. The issue, though, is that wood glue only really bonds well when it’s going from wood fiber to wood fiber, and most connections you’ll make on this stuff are wood edge to some sort of “finished” edge that’s likely not even wood. So it won’t help much there.
Which is fine, because there are loads of other glues. Go get a basic construction adhesive and use that. Just a little, but use it.
But where, how, and how much?
Where: every connection. If you want something strong, every place where they have you screw, nail, or cam lock something together, put glue between the two pieces. Do note that doing this means you are not taking this apart again, and if you do, the wood will break. But it’s going to break without it, so who cares!
How: if it’s raw wood to raw wood, just use Titebond. If it’s wood to anything else, use a construction adhesive. It’s confusing which “other” glue to use, so if you’re unsure, I’ll suggest Gorilla Glue Clear. It’s easy to use, and it’ll work pretty well. But you need to do something: use that sandpaper (or a sanding sponge) to scuff the plasticky side of things. Only scuff where the boards meet so you don’t see it later, and scuff it just enough that the surface isn’t smooth (something like 80–150 grit is great). If you do that, the glue will hold substantially better.
How much glue: the real trick is not putting down too much, which is why I say to use the clear Gorilla Glue, because it’s clear. You want to run just enough that the full area is covered, but not so much that it’s gushing out. With Gorilla Glue, it will be much easier. With wood glue, you run a line and smear it around with your finger (again, only where you want the glue to be!), then put it together (it washes off with water). Then secure the joint and clean up any glue that squeezes out when you do.
There’s one more thing, though: dowels. They have you slide those useless things into those holes, and they just float around like lazy fuckers. But notice: that’s all wood, my friend. Glue those fuckers in with wood glue on both sides, and now they are doing a little more than nothing — they are gluing more surface area together. Even if that’s the only spot you glue: instantly more stable furniture.
The obvious catch here: if you get your work wrong and have to take it apart because you didn’t follow instructions — well, you might not be able to take it apart. Wood glue sets up fast and will damage things even if it’s not fully cured. So be sure you are getting it right, which probably means reading the directions first and then following them as you go.
But I glue all my furniture like this, and it makes it all feel a lot more sturdy after the glue dries and sets up (usually 24 hours). It’s a very cheap trick, with very little downside, to help get a little more life out of the declining quality of things.
The second flatpack furniture trick is something not to do: do not use a drill. You may see me using a drill, but my drill is not the same as yours — do as I say here. If you overtighten with your drill, you will quickly strip out the wood where the screw goes in. This has nothing to do with the power of your drill and everything to do with how shitty the wood is. Once you rip it apart, well, it’s not great to fix. So, screwdriver only, or a ratcheting screwdriver if you’re fancy like that. It takes longer and is far more annoying, but it works.
Two-Part Tabletop Fix
There are a lot of general woodworking/furniture-making things you can apply to all of this if you want to get a little more ambitious. I can’t remember all of them off the top of my head, but I just fixed a tabletop at my house, so I’ll walk you through that.
We ordered a table for a new breakfast nook I built. I really wanted to build the table, but I wanted to make it out of solid hardwood glued up together, and doing that is not cheap. So my wife found a table we both liked, and we figured we could try to get a year or more out of it, and if it failed, we could go ahead and build.
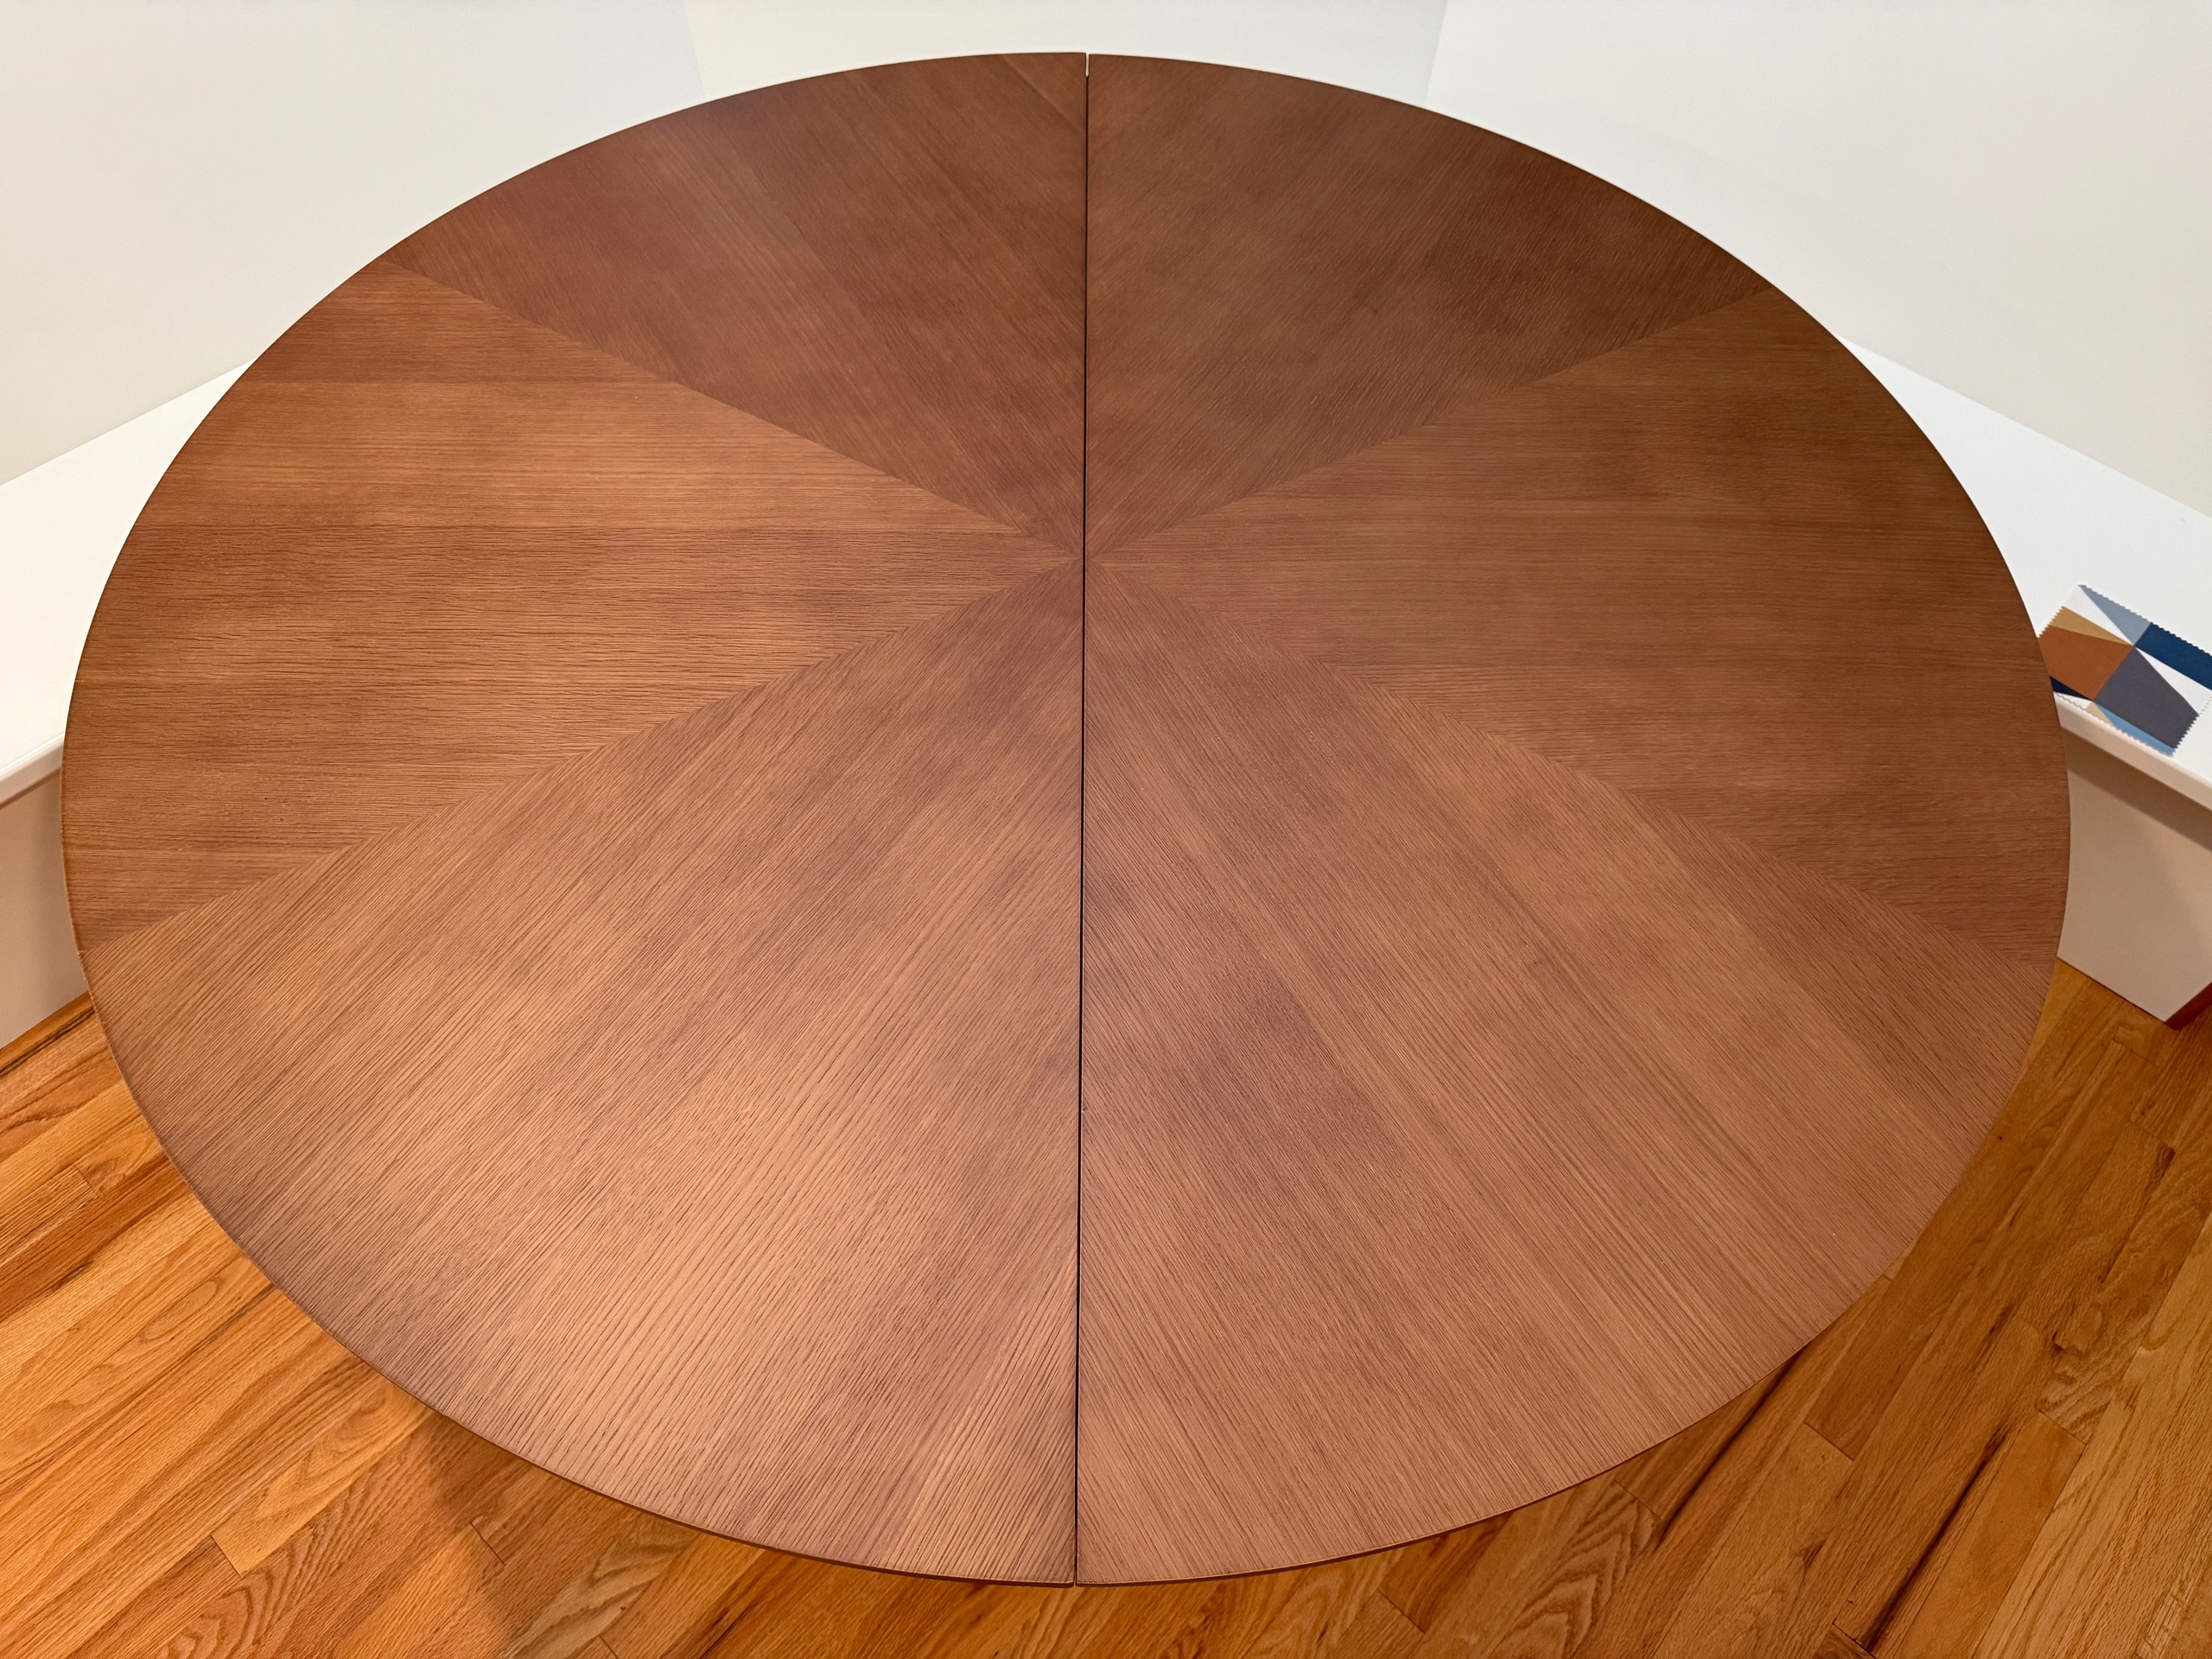
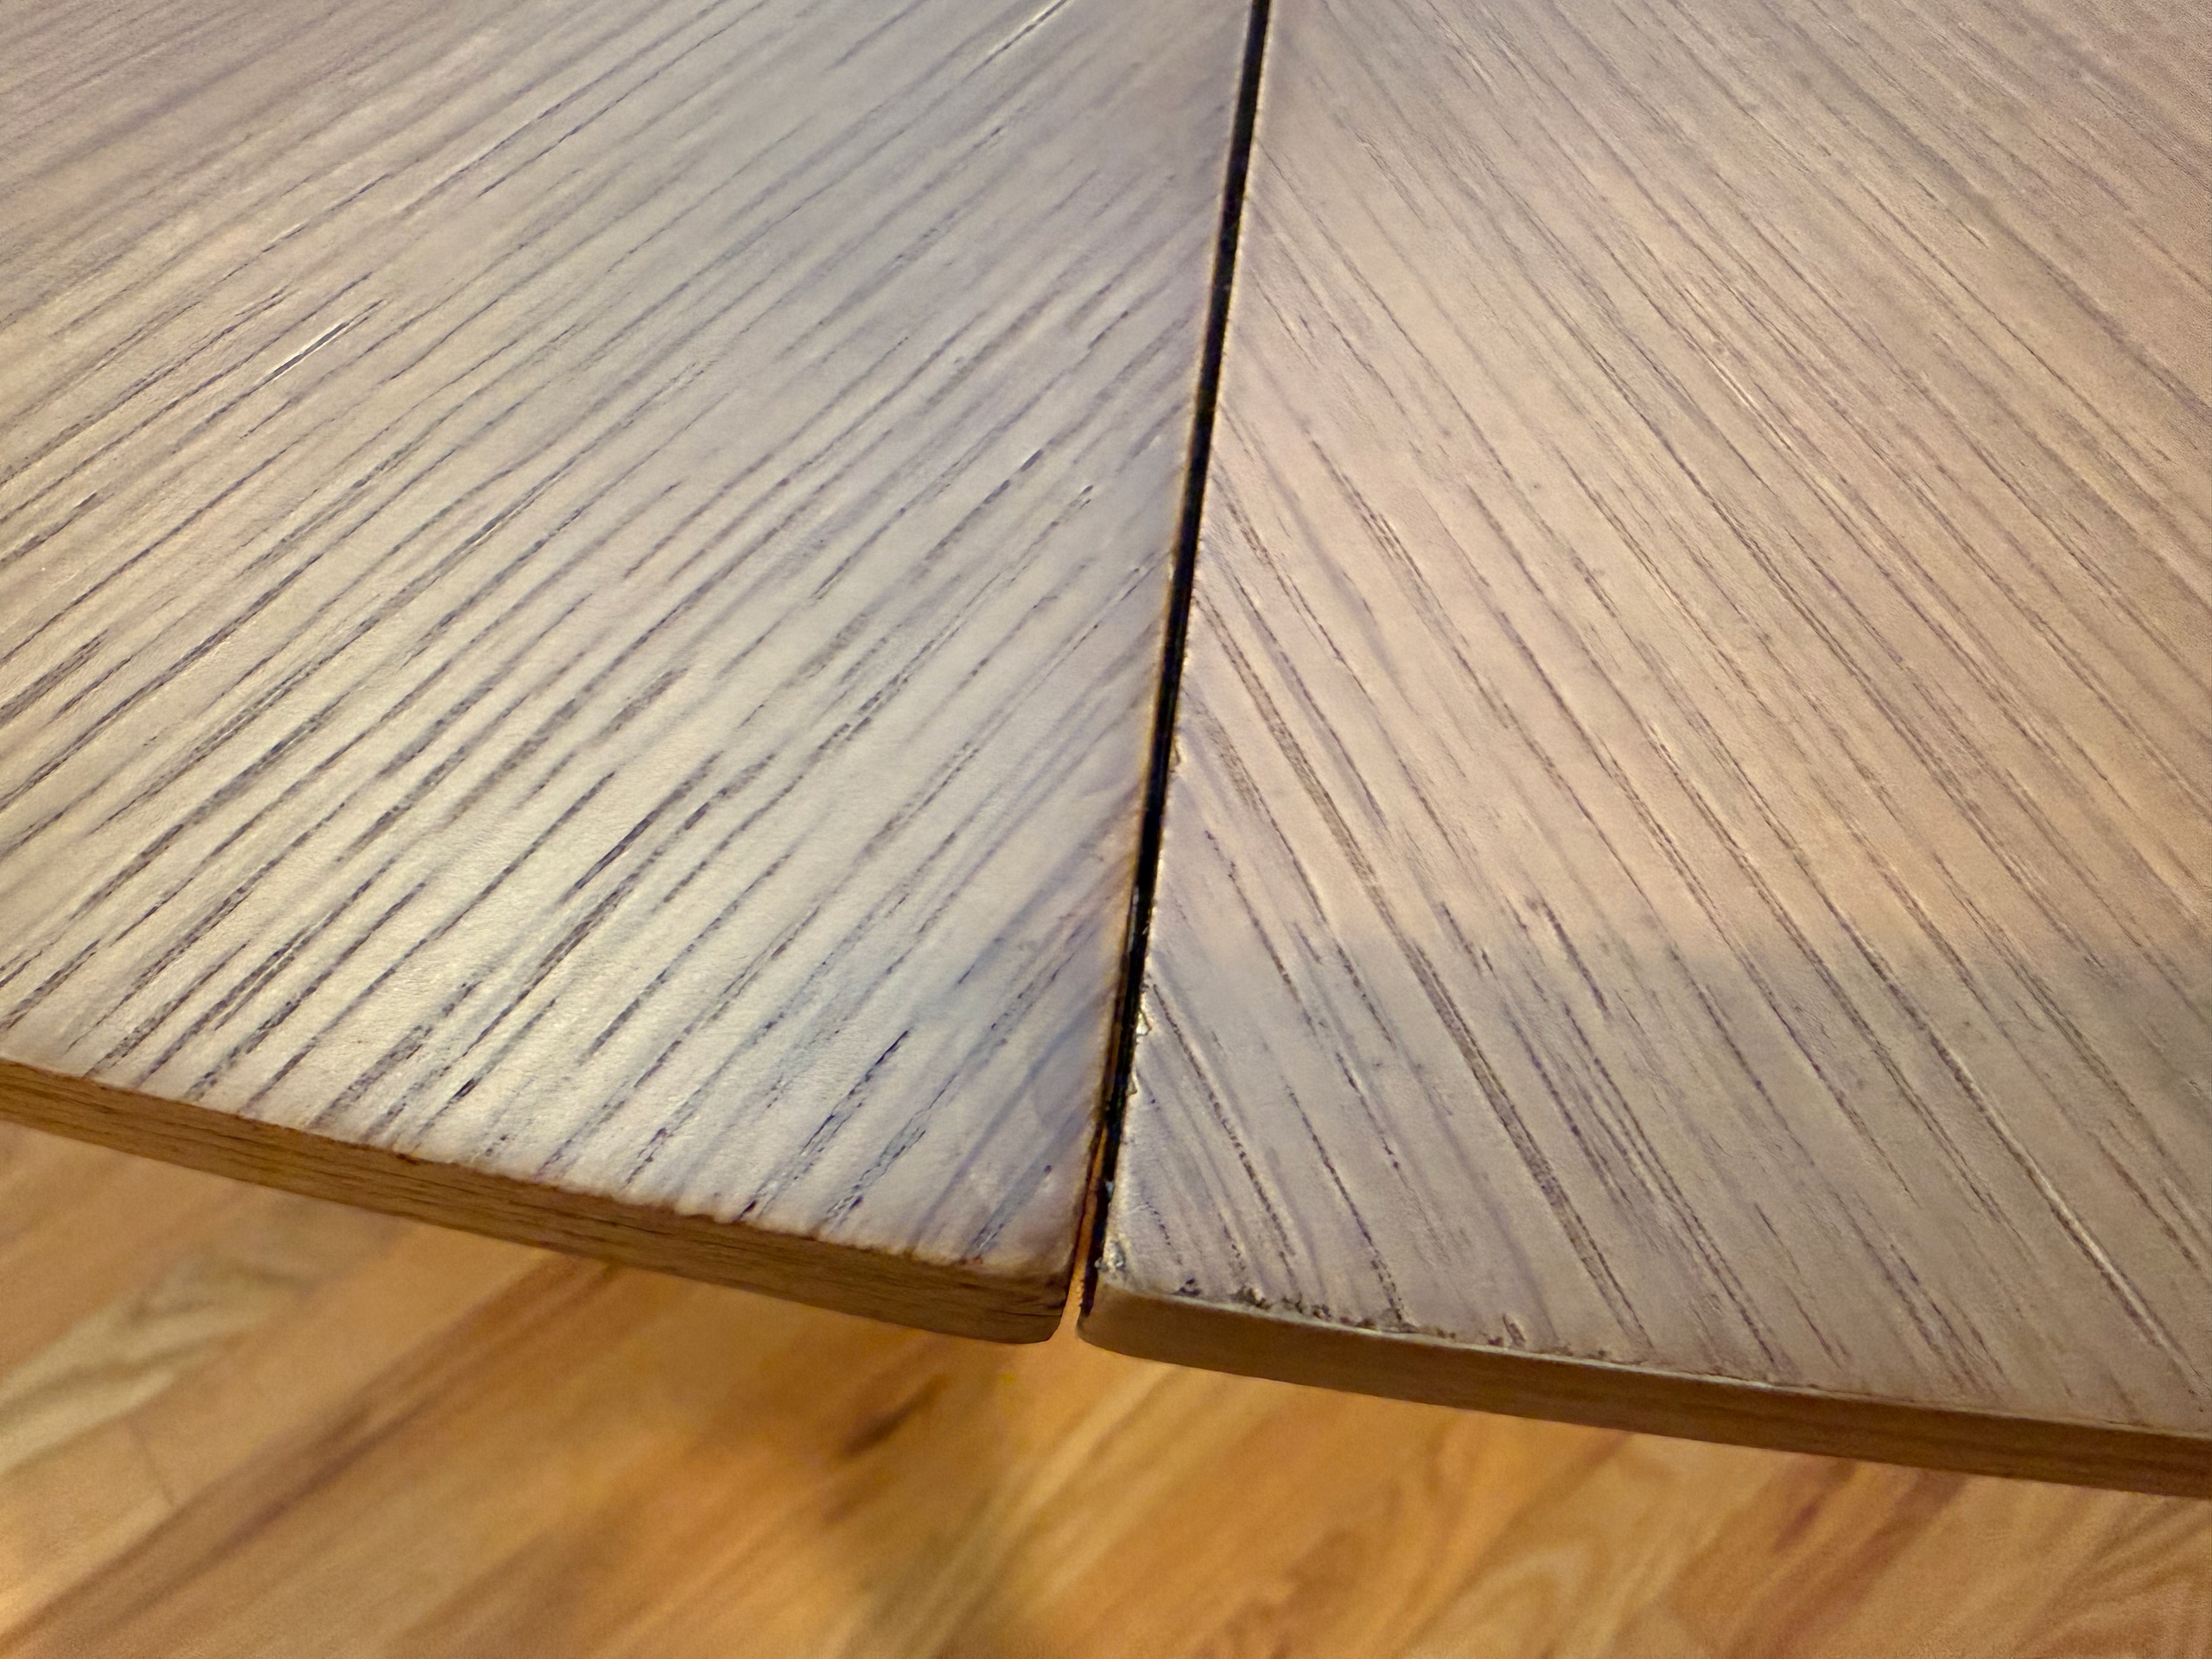
Anyways, the fucking circular top arrived in two damned pieces. See, I hate this cheap shit companies do. So I put it all together, and wouldn’t you know it: a gap between the two parts, and it’s not very sturdy-feeling. Lean on one side — and I mean just put a little weight on it — and the centerline bows up. That’s not good, that won’t last, and my rage will increase.
Before pictures:
A little closer:
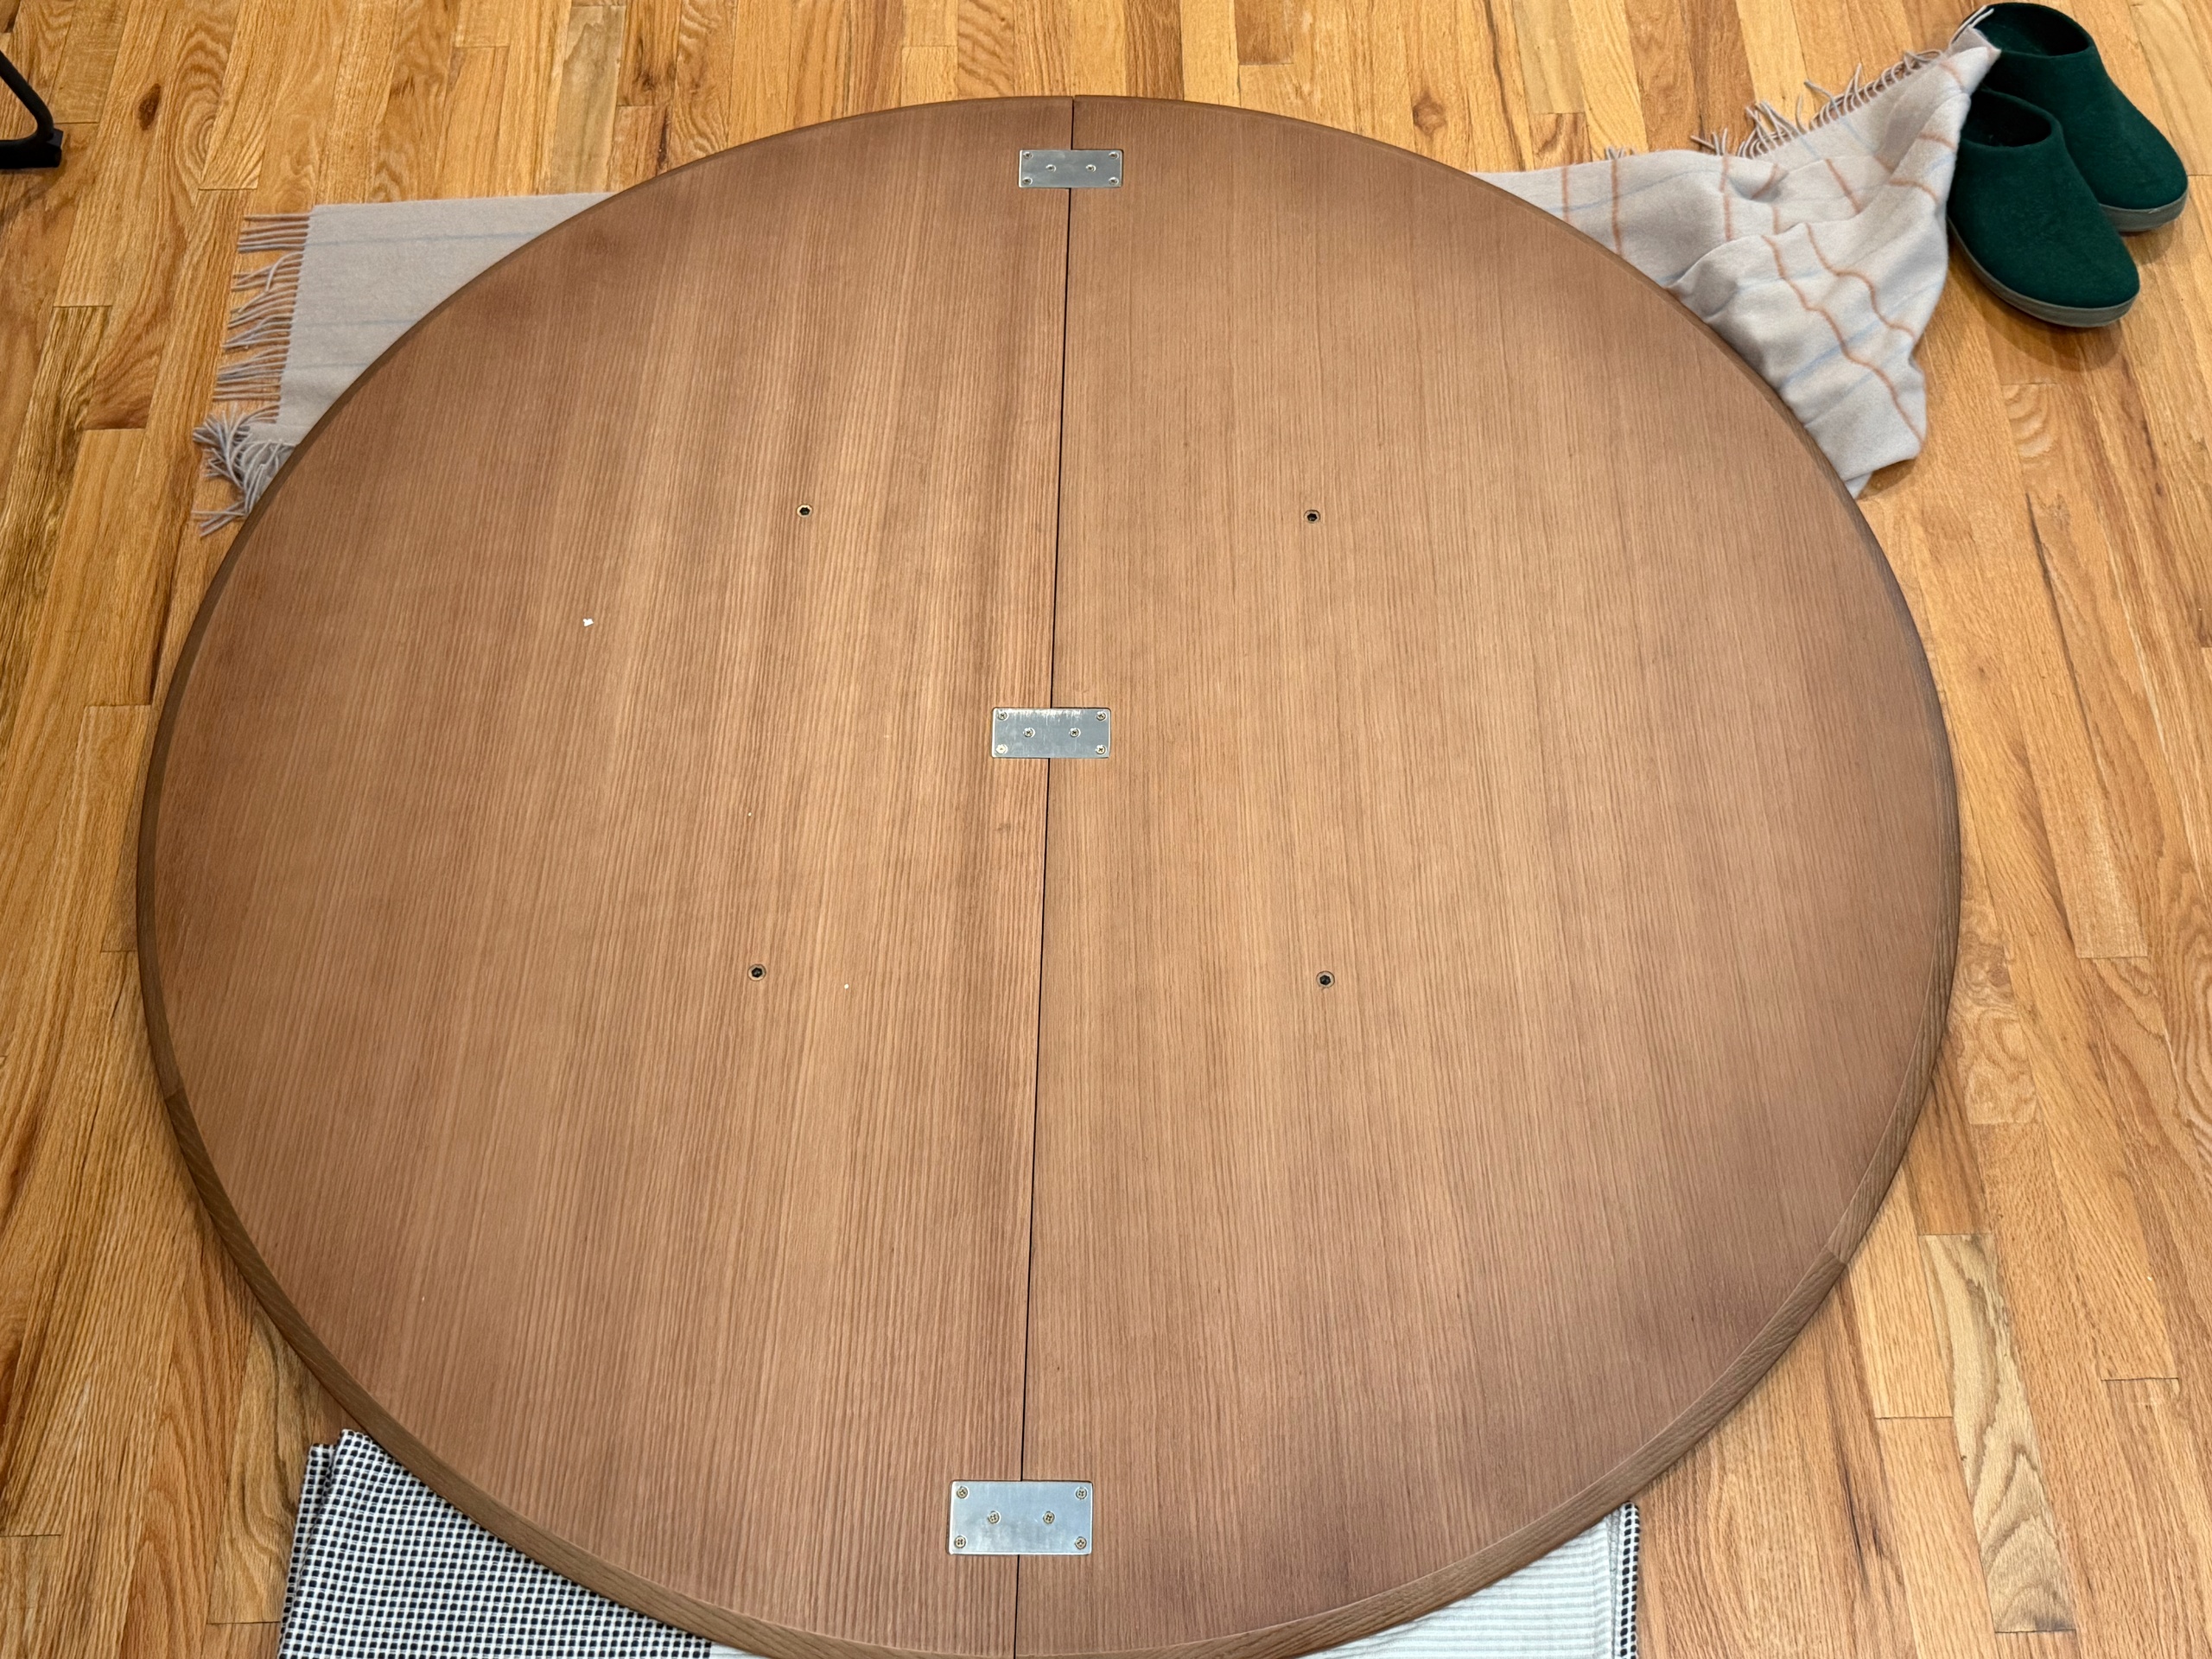
I took it back apart. The connection method is shit: it’s a tenon (tongue-and-groove-type thing) across most of the surface, held in place with three small steel plates. It’s a fucked method for keeping that joint tight and secure, and it makes me wonder why they even bothered with the tenon when the plates aren’t mortised correctly. Oh well.
I had two fixes in mind: good and better. My wife did not like better, and the risk was higher, so we did good.
Good was this: take the top apart. I drilled about eight pocket holes in the groove side of the joint, spaced somewhat evenly across the top (on the underside, obviously). Now, you should know that pocket holes really are not the strength here. They are not weak, but they alone don’t fix this — they do help pull the joint together. Then I measured the tongue, took note of where it stuck out the most, then did the same for the groove depth. I was simply trying to work out if the tongue was too long — which would make it impossible for it to seat tight — but luckily that was not an issue. (If it was an issue: chisel down the tongue, cut it, sand it, whatever.)
Next, I used my chisel to clean up anything that might be loose or otherwise looked like it would keep the joint from seating together as tight as possible. Then I used my wood file (you can use sandpaper instead) to rough up the entire tongue. Then I took wood glue and slathered it on both sides of the tongue, just enough that it was all coated well. And I shoved it together. Now, the two pieces don’t mate perfectly, so my wife and I spaced it as well as we could, and while she held the edges for me, I drove the pocket screws into the holes I’d drilled. This sucked the entire seam together.
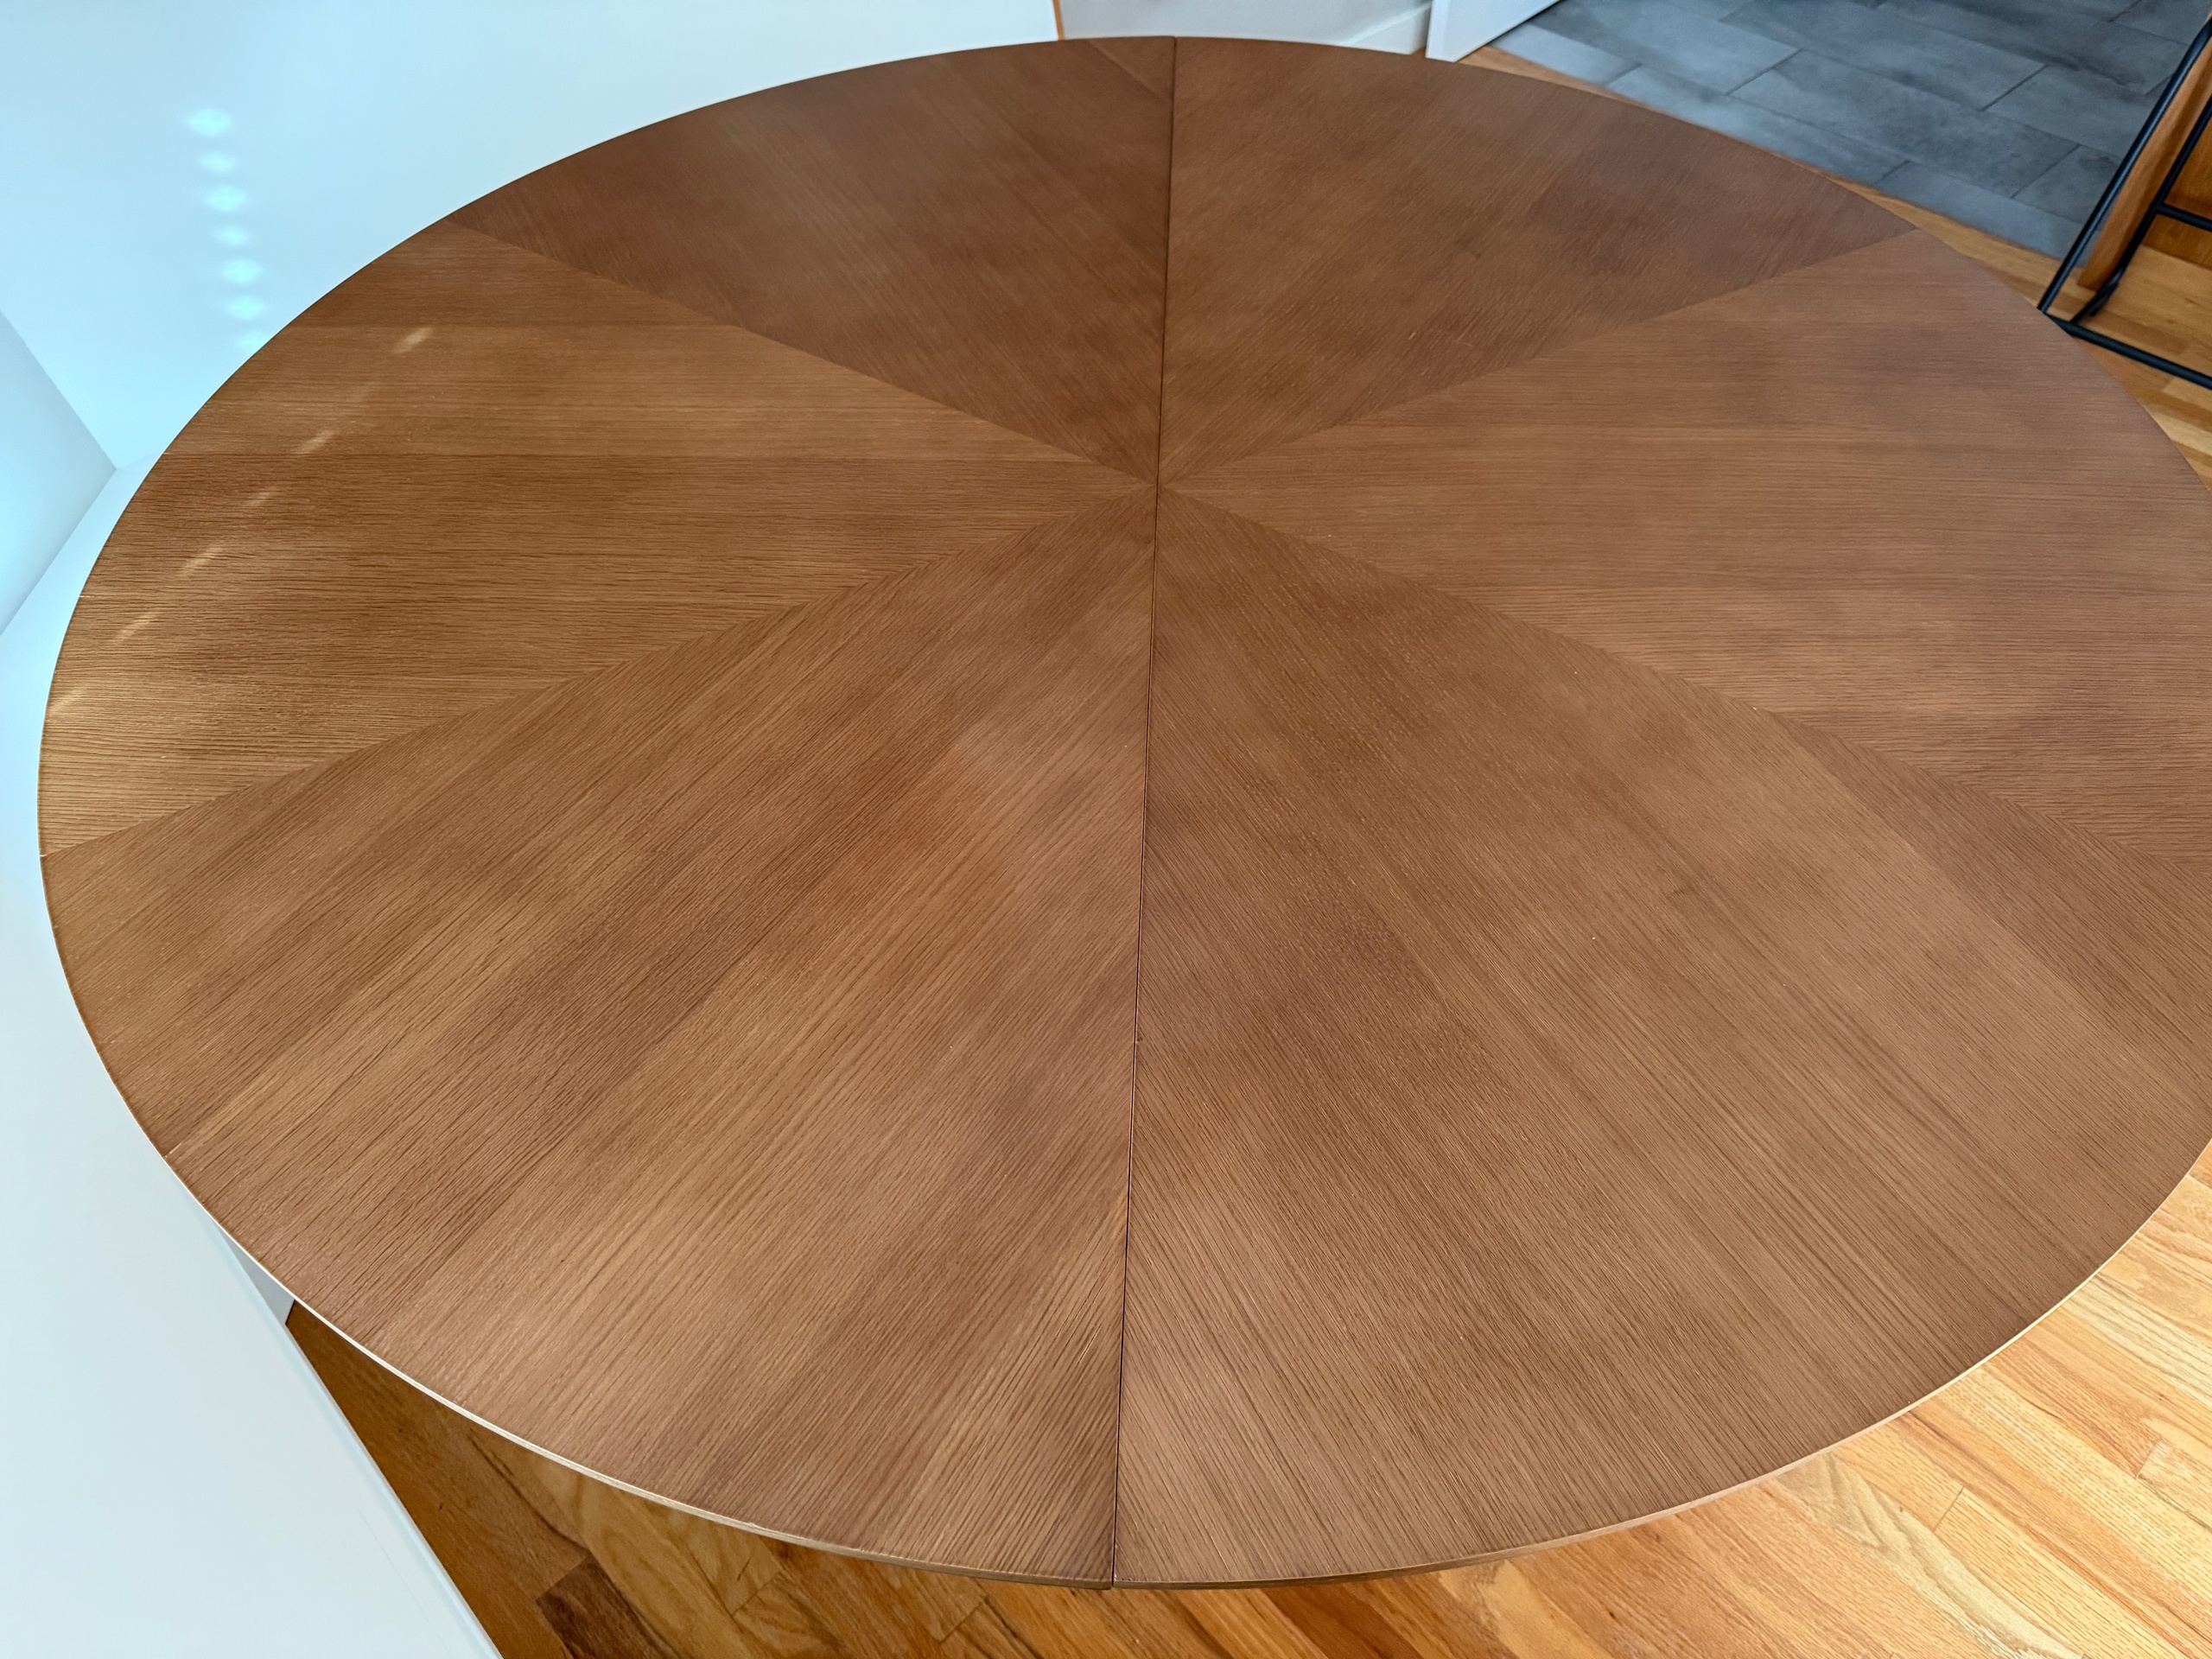
It went from having a gap you could see light through where the tongue ended to perfectly tight. And now that it’s cured, it feels plenty stable if I lean on an edge. The only thing it didn’t fix is that one half is slightly larger than the other, and the joint is a little wavy, so it doesn’t sit completely flat across the surface. I think I could have gotten that flat if I’d made panel clamps, but it’s not enough to bother me.
After:
A little closer:
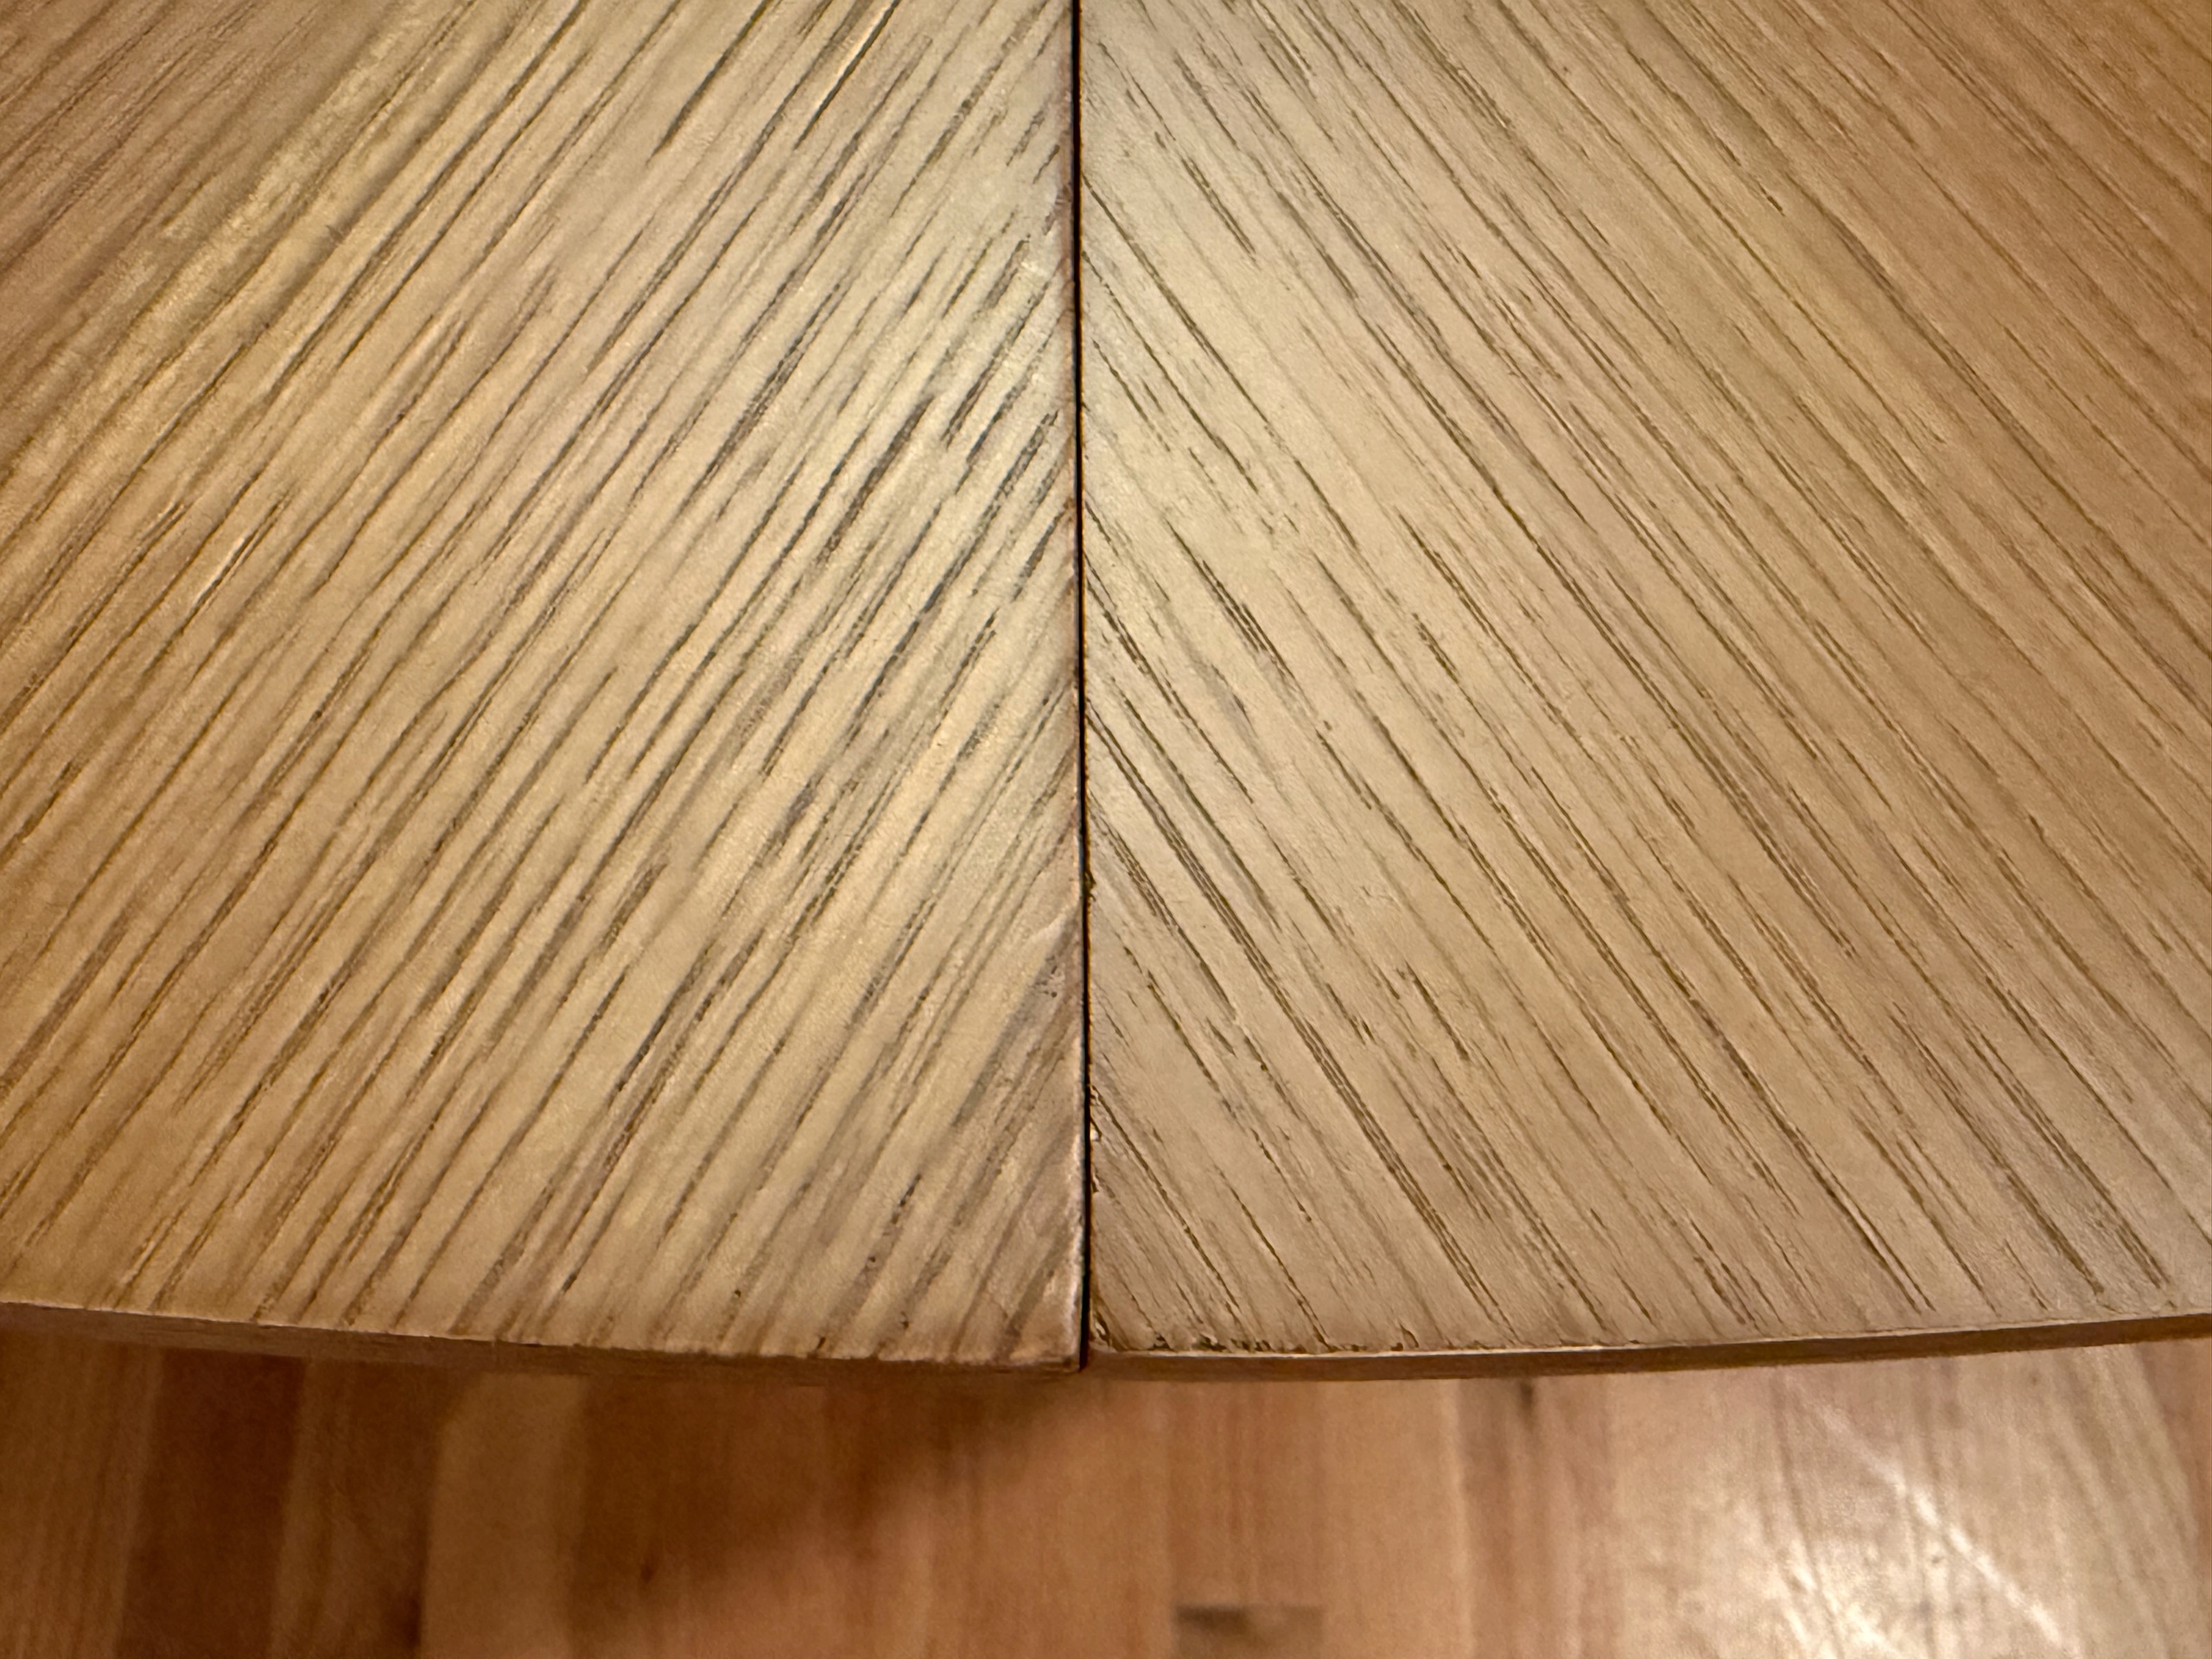
Still, it’s like 95% better than it was, and I basically used screws and wood glue.
Now, you might want to know what “better” would have been. Well, I don’t know how this would have worked, but the two edges that meet are slightly rolled downward, so my plan was to use my track saw to cut that seam perfectly flat on both sides without cutting the tongue off (though I’d have had to trim it back). Then do the same pocket-hole screws and use even more glue this time, since I could glue more than just the groove — I could also glue where the wood mates together. This would require clamping to get it really secure, so you’d need large clamps and some panel clamps. I do think this would have made it rock solid.
The risk is real: it’s for sure a veneer on the top, so it can chip easily and tear up when you cut it. With the slightly rolled edge, the lipping from side to side still looks finished, but with a raw edge, you’d need to work the seam back to flat, and I have no idea if that’s possible. And you get basically one pass at it, because you really can’t take that much off — unless, I guess, you want an odd oval-adjacent shape.
But ultimately, the minute I started telling my wife, “I’ll just run my saw down this…” she stopped me, and we went with the other option.
Particle board is not strong, but it’s usually strong enough. It’s the easy-to-assemble joints that tend to fail, and glue can usually solve that. Seriously, glue.
Oh, one more note: if the back panel is the type you nail on instead of slide into place, glue that fucker. It holds better than the nails, and that back panel is actually what’s going to give you the most strength over time. Still put the nails in, though.